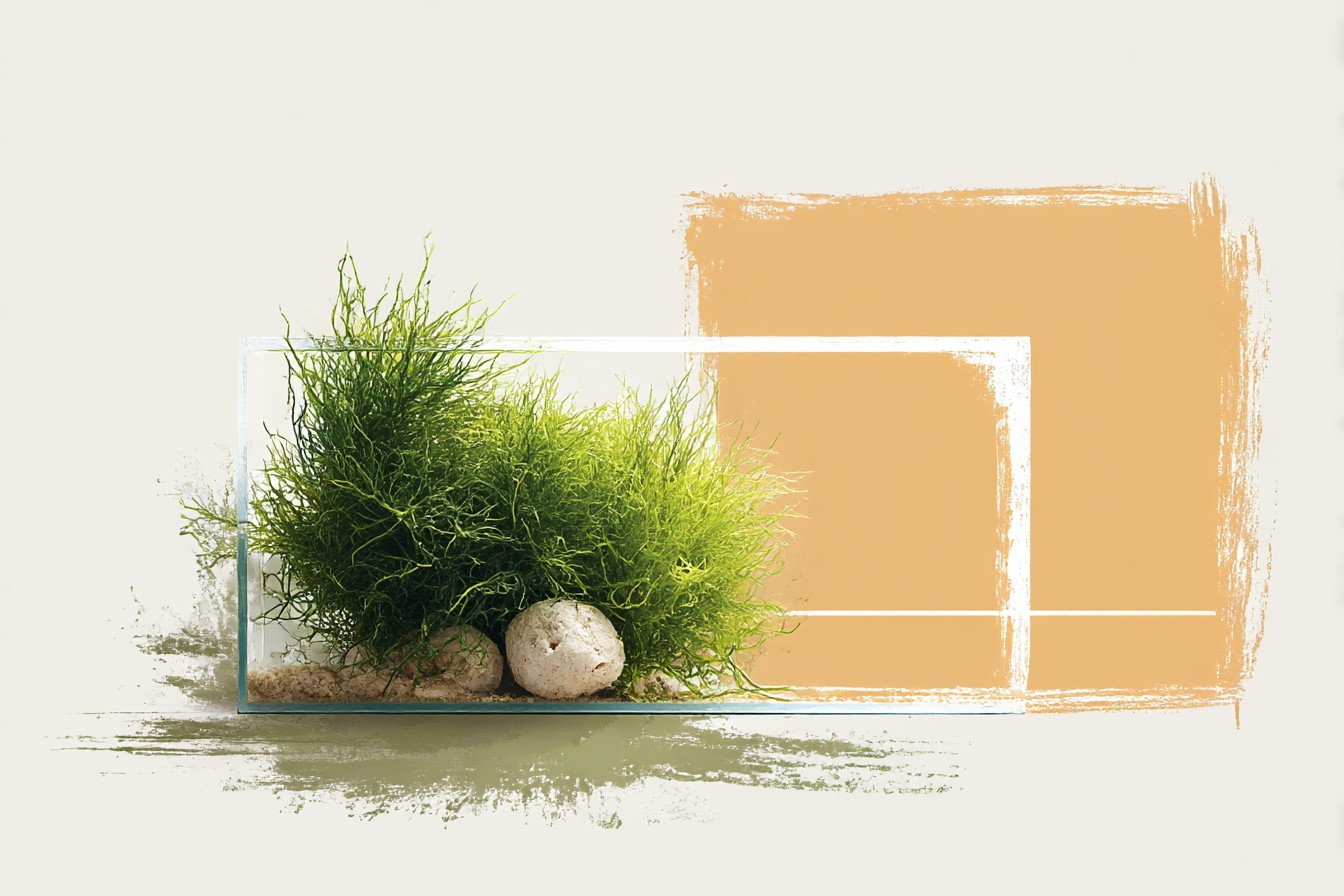
# How to Plant Java Moss in an Aquarium and Get It to Actually Stick Java moss floats. That’s the problem most people run into when they first try to add this incredibly useful plant to their tanks. You tie it carefully to a piece of driftwood, place it gently in your aquarium, and within hours it’s drifting around like green tumbleweed, leaving bits of thread and frustration in its wake.
Getting Java moss to actually stay where you put it isn’t complicated, but it does require understanding how this plant works and why the typical approaches fail. Java moss doesn’t root into substrate like most aquarium plants. Instead, it attaches itself through tiny structures called rhizoids that grip onto rough surfaces.
The trick is giving it the right surface, the right attachment method, and enough time to establish itself properly. When Java moss does attach successfully, it transforms into one of the most valuable plants in your tank.
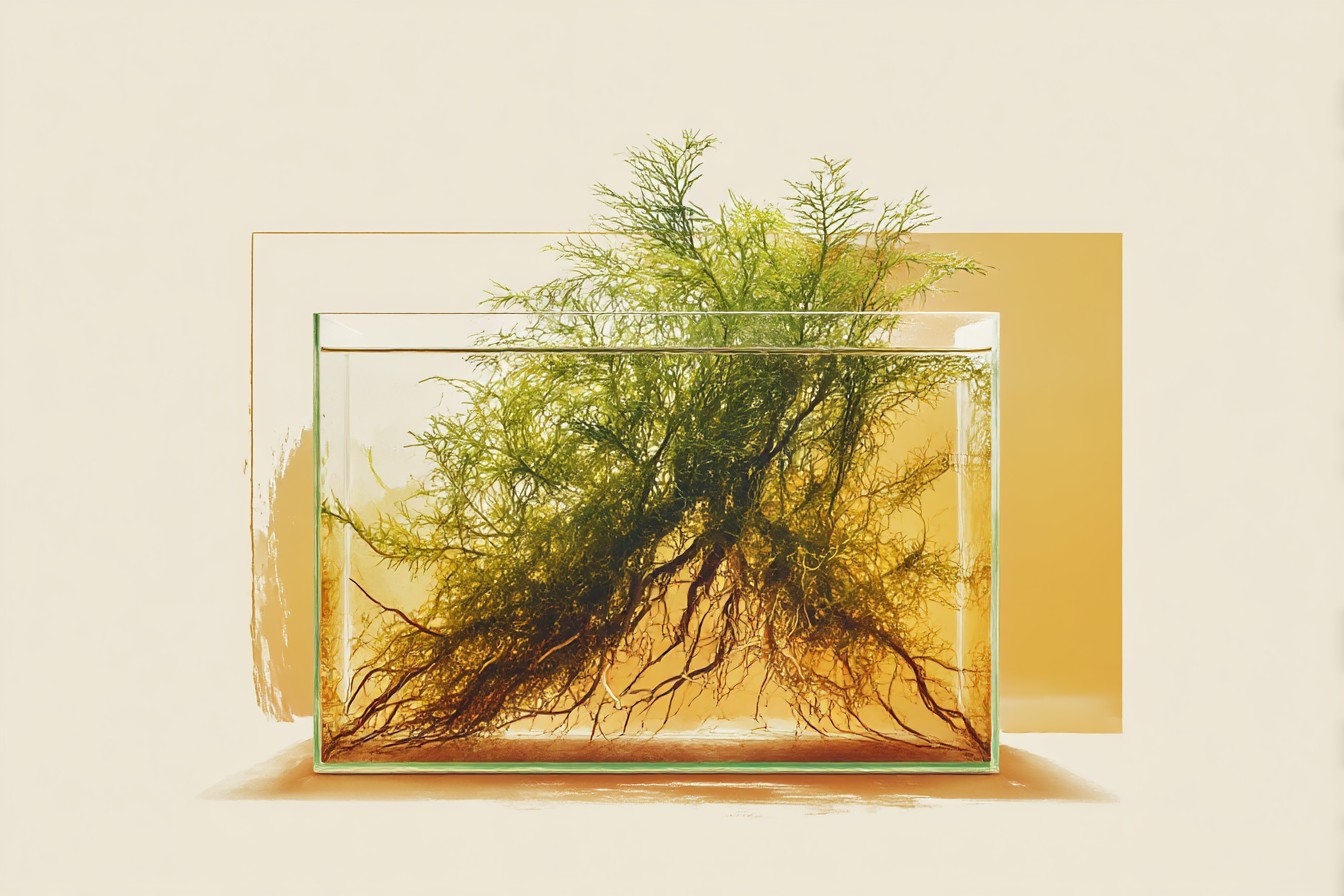
It provides dense shelter for fry and small fish, helps stabilise water chemistry by absorbing excess nutrients, and creates the kind of natural environment that makes both fish and aquarists happy.
But only if you can get it to stick first. ## The Biology Behind Java Moss Attachment **Root Systems That Aren’t Roots** Java moss doesn’t develop true roots like terrestrial plants or even most aquatic plants. Instead, it uses rhizoids, which are microscopic thread-like structures that function more like anchors than nutrient-absorbing roots (Select Aquatics). These rhizoids seek out rough, porous surfaces and work their way into tiny crevices and irregularities.
The process is genuinely slow. Java moss typically takes 3-8 weeks to securely attach to driftwood (Aquifarm), which explains why so many people give up too early. During those first few weeks, the moss is vulnerable to being dislodged by fish activity, water flow, or your own maintenance work. **Surface Requirements for Successful Attachment** Smooth surfaces don’t work.
Java moss rhizoids need texture to grip onto, which is why tying moss to polished river stones or glass surfaces usually fails. The most successful surfaces are rough-textured driftwood, lava rock, or specially designed moss mesh. The microscopic pores and irregularities in these materials give the rhizoids something to anchor into. **Environmental Factors That Affect Attachment** Water parameters play a significant role in how quickly and successfully Java moss establishes.
The plant tolerates pH 5.0-8.0 (Select Aquatics) and can grow in temperatures between 59°F and 86°F (15°C-30°C) (Aquarium Source), but thrives best between 68-75°F (20-24°C) (Splashy Fish Store). Within this optimal range, the moss develops stronger rhizoids more quickly and attaches more securely. Lighting also matters, though not in the way you might expect.
Java moss doesn’t need intense light to attach, but consistent lighting helps maintain healthy growth during the establishment period. Most sources recommend 6-8 hours per day (The Aquarium Expert), which provides enough energy for the moss to develop its attachment structures without promoting excessive algae growth that could interfere with the process. ## Primary Attachment Methods That Actually Work **The Cotton Thread Technique** This remains the most reliable method for most situations, despite what you might read about cotton dissolving too quickly. The key is using the right type of cotton thread and applying it correctly.
Choose natural cotton sewing thread rather than embroidery floss or fishing line. Cotton thread holds the moss in place for 4-6 weeks, which gives the rhizoids enough time to establish before the thread biodegrades. Wrap the thread around both the moss and the attachment surface in a figure-eight pattern rather than just looping it around.
This distributes the pressure more evenly and prevents the thread from cutting through delicate moss fronds. Java moss fronds are typically 1-3 cm long (Abyss Aquatics), so you need to be gentle with the smaller pieces. Don’t pull the thread tight enough to compress the moss.
You want firm contact between moss and surface, but the moss should still look natural, not flattened. The thread should be snug enough that the moss won’t shift position, but loose enough that water can flow through the moss freely. **Moss Mesh Method** Aquarium-specific moss mesh provides the most professional-looking results, though it’s more expensive than thread. The mesh allows you to create even, carpet-like coverage or precise shapes.
Cut the mesh slightly larger than your moss portion, sandwich the moss between two pieces of mesh, and secure the edges with plant-safe zip ties or stainless steel wire. The advantage of mesh is that it never degrades, so once the moss grows through and around it, you have a permanent, stable moss feature. The disadvantage is that if you ever want to remove or reshape the moss, the mesh makes it much more complicated. **Super Glue Attachment** Despite sounding alarming, cyanoacrylate gel (super glue) is actually reef-safe and can work well for Java moss, though it requires careful application.
Use only gel-type cyanoacrylate, not liquid, and only use it in small spots. Place a tiny dab of glue on the driftwood or rock, then immediately press a small piece of moss onto it. This method works best for starting attachment points rather than securing large amounts of moss.
Once these small pieces establish and begin spreading, they’ll naturally cover and integrate with moss attached by other methods. **Creating Attachment Surfaces** If you’re working with smooth driftwood or need to create new attachment points, you can modify surfaces to make them more moss-friendly. Light sanding with coarse sandpaper creates the texture Java moss rhizoids need. For rocks, choose lava rock or other naturally porous stones rather than smooth river stones.
You can also wrap fine mesh or coconut fibre around smooth surfaces before attaching moss. This gives you the texture benefit immediately while still allowing the moss to eventually attach directly to the underlying surface. ## Common Mistakes That Prevent Successful Attachment
Mistake #1: Removing floating bits too early. When you first attach Java moss, small pieces will inevitably break off and float around your tank. The natural response is to net these out immediately, but many of these pieces will actually settle and attach themselves if given time.
Only remove obviously dead or decaying pieces during the first month.
Mistake #2: Using fishing line or synthetic thread. Fishing line never degrades, which sounds like an advantage until you realise it cuts into the moss as it grows and creates permanent weak points. Synthetic threads can also leach chemicals that inhibit plant growth. Natural cotton thread that degrades after the moss attaches is genuinely better than permanent synthetic materials.
Mistake #3: Attaching moss during tank setup. New tanks have unstable water chemistry and often experience algae blooms that can smother newly attached moss.
You Might Also Like
Wait until your tank has been running stably for at least 4-6 weeks before adding Java moss. The established biological filtration will give the moss a much better chance of successful attachment.
Mistake #4: Placing moss in high-flow areas immediately. Strong water flow will constantly tug at moss that hasn’t attached yet, preventing rhizoid development. Start Java moss in lower-flow areas of your tank, then move pieces to higher-flow locations once they’re securely attached.
Mistake #5: Overfeeding during attachment period. Excess nutrients from overfeeding promote algae growth that can smother Java moss before it establishes.
During the first 6-8 weeks after adding moss, be particularly careful about feeding amounts and remove any uneaten food promptly.
Mistake #6: Expecting immediate results. Java moss attachment is genuinely slow. Even under optimal conditions, you won’t see secure attachment for 3-4 weeks, and full establishment takes 6-8 weeks. Many people assume their attachment method has failed and try something else before giving the moss enough time to do its work.
## Research Support for Moss Attachment Methods Multiple aquaculture studies have documented Java moss growth rates and environmental requirements, providing clear guidelines for successful establishment.
Research shows that Java moss can grow as fast as 5 mm per day in ideal conditions (Aquariumia), with typical growth rates of 2-3 mm per day once anchored (Plantophiles). Under average aquarium conditions, growth averages 0.5 to 1 inch per month (Biology Insights). These growth rates demonstrate why patience is essential during the attachment phase.
The moss needs to allocate energy to developing rhizoids before it can achieve optimal growth rates, which explains the initial slow period that frustrates many aquarists. Studies of Java moss tolerance ranges confirm that the plant adapts to a wide variety of conditions but performs best within specific parameters (Marlinaqua). This adaptability is part of what makes Java moss so valuable, but it also means that optimising conditions can significantly improve attachment success rates. ## Application Across Different Tank Types **Nano Tanks (Under 40 Litres):** Use smaller pieces and cotton thread attachment.
The lower water volume means any decomposing thread or unsuccessful attachment attempts will have a bigger impact on water chemistry, so work with small amounts at a time. **Community Planted Tanks:** Java moss works well with most plant combinations and provides beneficial shelter for small fish and invertebrates. Attach it to driftwood or rocks rather than directly to substrate to avoid interference with root systems of larger plants. **Breeding Setups:** Dense Java moss attachment is particularly valuable in breeding tanks for egg-scattering species. Use mesh methods to create thick, even coverage that provides maximum shelter for fry while remaining stable during the active breeding period. **Shrimp Tanks:** Java moss provides essential biofilm surfaces for shrimp feeding.
Use the cotton thread method with extra care, as shrimp may try to eat cotton thread before it degrades naturally. Consider slightly thicker thread or shorter attachment periods. **High-Flow Tanks:** For tanks with strong circulation or large, active fish, use the mesh method or super glue technique for initial attachment points. Once these establish, they can withstand higher flow rates and fish activity better than thread-attached moss. ## Benefits of Successfully Attached Java Moss **Long-Term Tank Stability:** Established Java moss acts as a biological buffer, absorbing excess nutrients that would otherwise feed algae blooms.
A well-attached moss colony can noticeably improve water clarity and stability within 8-12 weeks of establishment. **Natural Filtration Enhancement:** Java moss provides additional surface area for beneficial bacteria colonisation, effectively increasing your tank’s biological filtration capacity. This becomes particularly noticeable in tanks with higher bioloads. **Breeding and Fry Survival:** Dense, securely attached moss provides crucial shelter for fish breeding activity and fry development. The complex structure offers protection from adult fish while allowing easy access to food particles and beneficial microorganisms. **Maintenance Reduction:** Once established, Java moss requires minimal care while providing maximum benefit.
Properly attached moss self-regulates through natural growth and occasional trimming, unlike many other aquarium plants that require regular intervention. **Natural Appearance:** Successfully attached Java moss grows in natural, irregular patterns that create a more authentic environment than artificially placed decorations. The moss adapts its growth to local conditions, creating unique formations that enhance your aquascape. **Fish Behaviour Improvement:** Many fish species exhibit more natural behaviours in tanks with established moss colonies. The additional shelter and foraging opportunities reduce stress and encourage exploration and natural feeding behaviours. ## Step-by-Step Implementation Guide **Phase 1: Tank Preparation (Week 1)** Wait for established tank conditions before adding Java moss.
Your tank should have stable water parameters and have been running for at least 4-6 weeks. Test pH, temperature, and lighting duration to confirm they autumn within optimal ranges. Budget Breakdown: * Java moss portions: £8-15 * Cotton thread: £2-3 * pH testing kit (if needed): £8-12 **Total Phase 1 Budget: £18-30** **Phase 2: Initial Attachment (Weeks 2-3)** Cut Java moss into palm-sized portions and attach to prepared surfaces using cotton thread in figure-eight patterns.
Place attached moss in moderate-flow areas away from direct bright lighting. Remove any obviously dead pieces but leave floating fragments alone. Monitor water parameters daily during the first week after attachment.
Reduce feeding by approximately 25% to minimise nutrient buildup that could promote algae growth on vulnerable new moss. Budget Breakdown: * Additional moss portions (if needed): £5-10 * Water testing supplies: £5-8 **Total Phase 2 Budget: £10-18** **Phase 3: Establishment Period (Weeks 4-8)** Continue monitoring attachment progress without disturbing the moss.
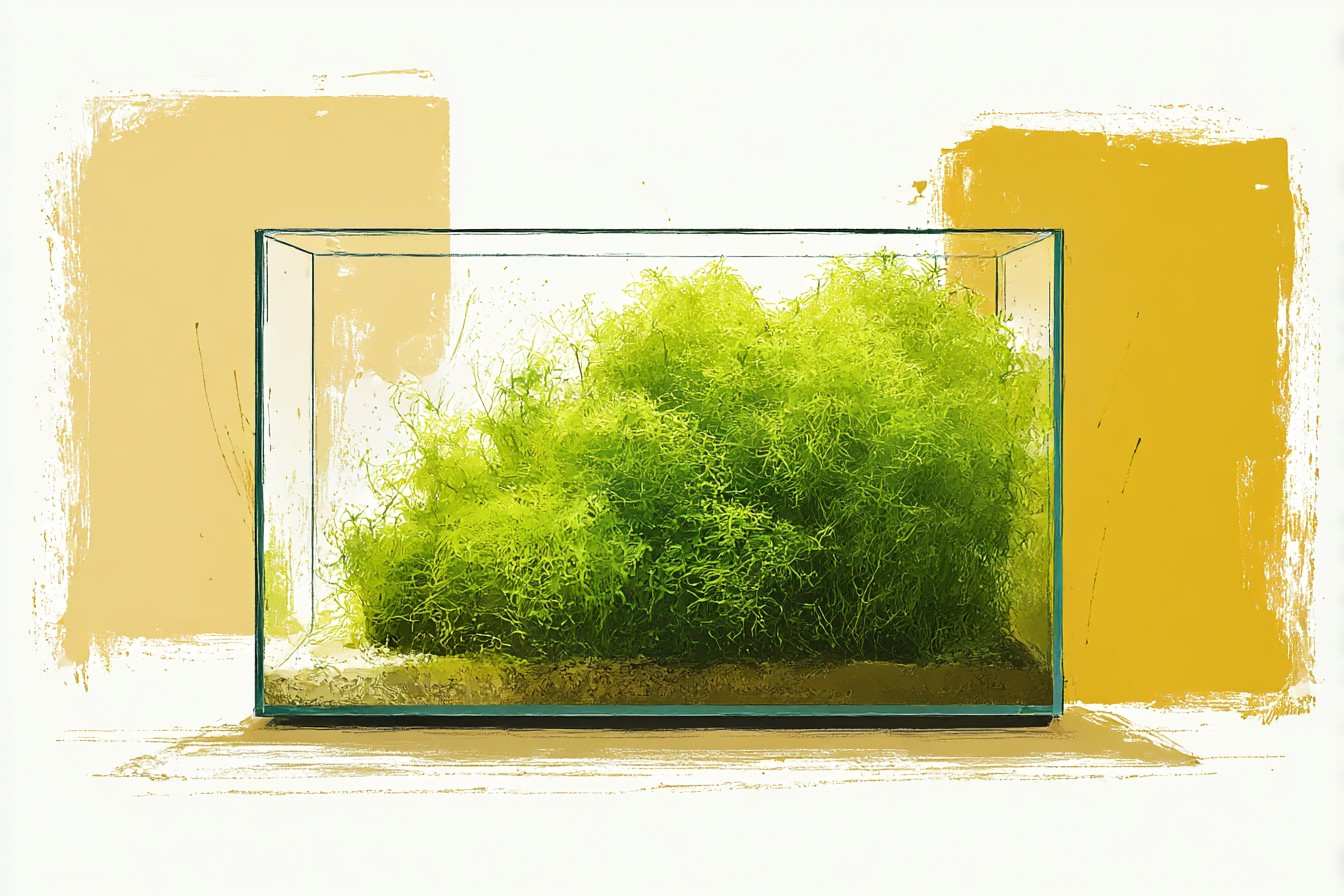
Look for new growth extending beyond the original attachment points as evidence of successful rhizoid development.
Begin normal feeding schedules once moss shows secure attachment, typically after 4-5 weeks. Trim any excessive growth that extends more than 5-7 cm from attachment points to encourage dense, healthy growth rather than long, straggly fronds. Budget Breakdown: * Aquarium scissors: £12-18 * Additional attachment materials: £5-8 **Total Phase 3 Budget: £17-26** **Phase 4: Full Integration (Weeks 9-12)** Once moss is securely attached and showing consistent growth, you can relocate pieces to higher-flow areas or more prominent positions in your aquascape.
This is also when you can begin propagating successful colonies by carefully removing attached portions and relocating them to new surfaces. Establish a regular trimming schedule based on growth rate, typically every 3-4 weeks for most tank conditions. Budget Breakdown: * Moss propagation materials: £3-5 * Long-term maintenance supplies: £5-10 **Total Phase 4 Budget: £8-15** **Phase 5: Long-Term Management (Ongoing)** Develop a sustainable trimming and maintenance routine.
Well-established Java moss colonies can provide trimmings for new attachment projects or trading with other aquarists. Monitor for any signs of moss die-back that might indicate changing water chemistry or lighting issues. Budget Breakdown: * Replacement materials as needed: £10-15 annually * Water parameter monitoring: £15-20 annually **Total Ongoing Budget: £25-35 annually** If you’re just getting started with planted tanks, our complete beginner’s guide covers the fundamentals that will help you create the stable environment Java moss needs to thrive.
But even experienced aquarists often struggle with moss attachment, simply because it requires more patience than most other aquascaping techniques. The key is understanding that Java moss attachment is a biological process, not just a mechanical one, and giving it the time and conditions it needs to work properly.