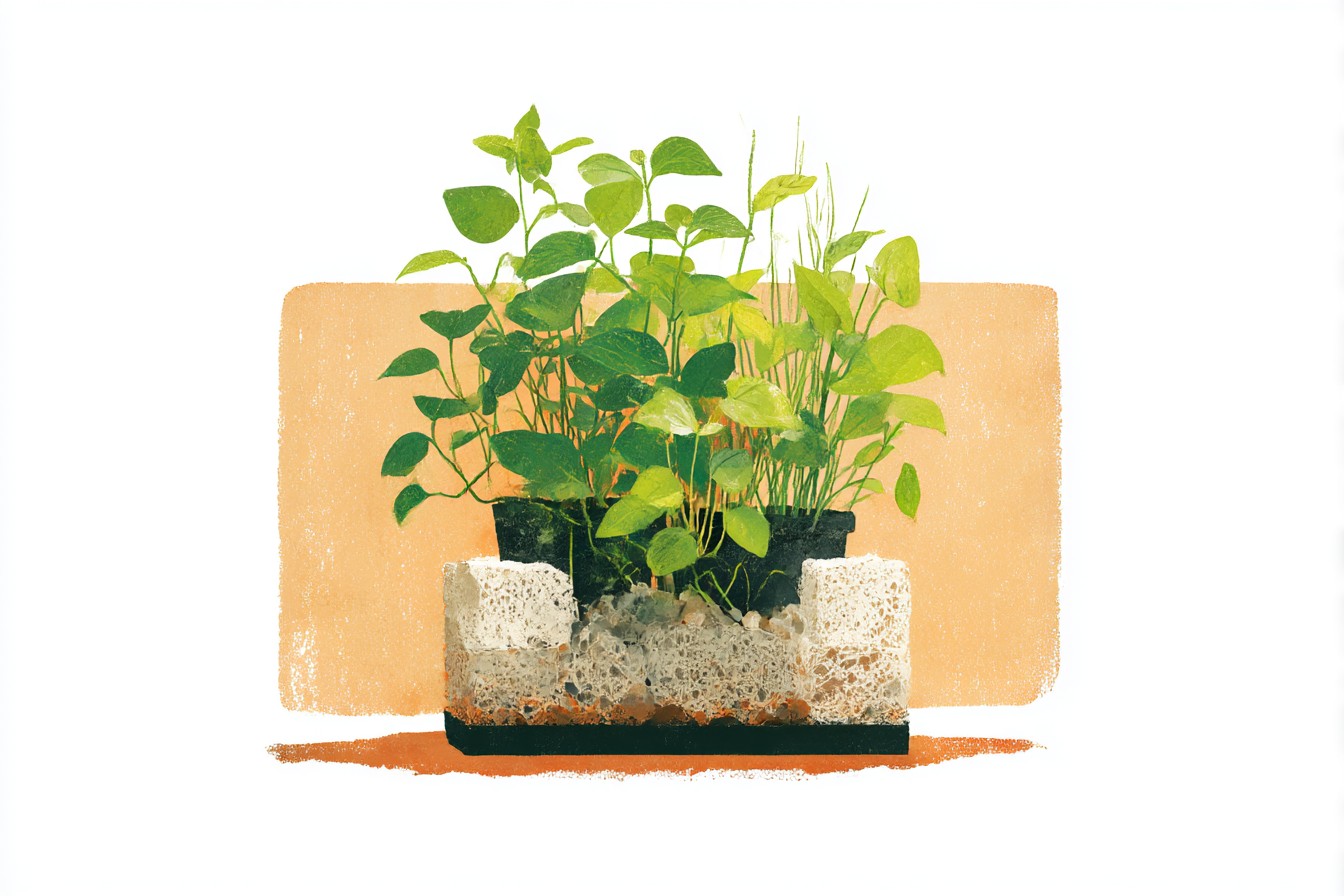
# How to Plant Potted Aquarium Plants and Getting Them Out of the Rockwool I remember the first time I brought home a batch of potted aquarium plants from the shop. Lovely looking things in their neat little plastic pots, all green and healthy. The lad behind the counter had given me a quick rundown about removing the rockwool, but I’ll be honest, I wasn’t really listening properly.
I was too busy working out how much I’d just spent and wondering if my wife would notice another bag from the aquatics shop. Got them home, pulled one out of its pot, and found myself staring at what looked like grey cotton wool wrapped around the roots. Had no idea if I was supposed to remove it, leave it on, or what.
Ended up planting half of them with the rockwool still attached and carefully picking it off the others. Both approaches worked, as it turned out, but I learned the hard way that understanding what you’re dealing with makes the whole process considerably less stressful.
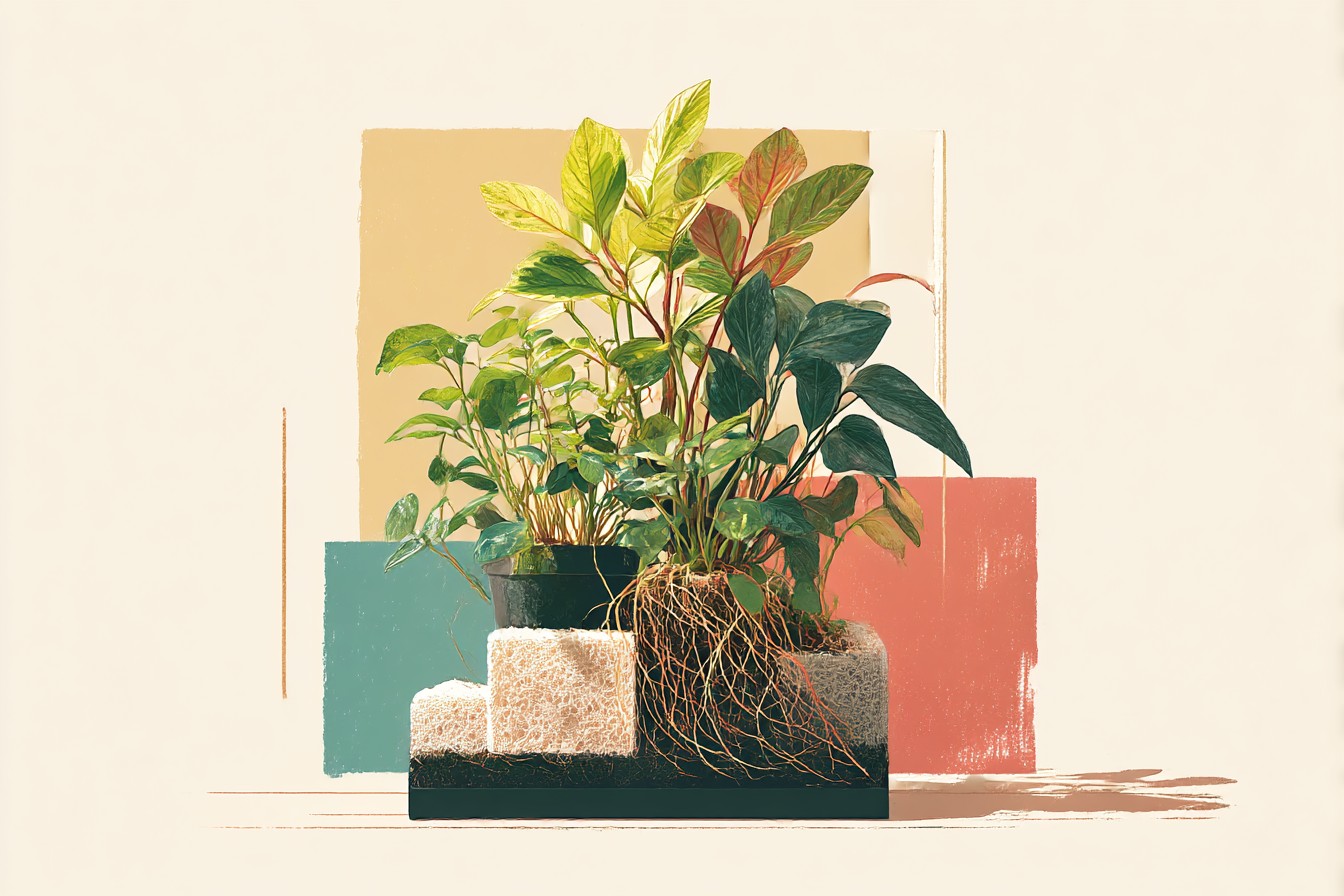
The thing about potted aquarium plants is that they’re designed for shipping and retail display, not necessarily for long-term growth in your tank.
That rockwool serves a specific purpose during transport, but what you do with it once you get the plants home can make a real difference to how well they establish. Getting this right isn’t complicated, but it does require understanding what that grey fluff actually is and why it’s there in the first place. ## Understanding Rockwool and Its Role in Plant Cultivation Rockwool is a sterile medium used to prevent shipping damage during transport (Institute for Environmental Research and Education). It’s essentially spun mineral fibres that create a stable growing medium around the plant’s root system.
The stuff looks a bit like insulation material, which isn’t entirely wrong since it’s made through a similar process of heating and spinning rock fibres. **Why Nurseries Use Rockwool** From a commercial perspective, rockwool solves several problems. It holds the right amount of moisture during shipping without becoming waterlogged. It provides physical protection for delicate root systems when plants are being moved about in boxes and lorries.
It’s also completely sterile, which means there’s no risk of introducing pests, diseases, or unwanted organisms into retail tanks. The key advantages include excellent moisture retention and aeration properties (The Aquarium Expert Rockwool). This combination keeps roots healthy during what can be weeks of transport and storage.
Plants can sit in rockwool for extended periods without the root rot you’d get from oversaturated soil or the desiccation you’d get from bare roots. **The Nutrient Situation** Here’s where it gets important for your tank: rockwool has no inherent nutrients, so regular fertilisation is needed (The Aquarium Expert). It’s purely a structural medium. In the nursery, plants in rockwool get fed through liquid fertilisers added to their water.
In your tank, if you leave the rockwool in place, you’ll need to ensure your fertilisation regime is adequate to support the plant’s nutritional needs. This isn’t necessarily a problem, but it is something to factor into your plant care routine. Plants growing directly in nutrient-rich substrate can draw what they need from the sediment.
Plants still wrapped in rockwool are entirely dependent on water column fertilisation. ## Methods for Removing Rockwool Safely **The Gentle Soaking Method** This is the approach I use now, having learned that patience generally works better than force when dealing with plant roots. Fill a bowl with tank water at roughly the same temperature as your aquarium. Remove the plant from its plastic pot and place it in the water, rockwool and all.
Let it sit for ten to fifteen minutes. The rockwool will absorb water and become more pliable. This makes it considerably easier to tease apart without damaging the root system.
After soaking, you can gently pull apart sections of rockwool with your fingers, working from the outside inward. The key word here is gently. Plant roots, particularly the fine feeder roots that do most of the work, are more delicate than they look.
Aggressive pulling will damage them, which sets the plant back during establishment. Work slowly, and if you encounter resistance, soak for another few minutes rather than forcing it. **Root Washing Technique** Once you’ve removed most of the rockwool, you’ll likely find small fibres still clinging to the roots. This is normal and expected.
Hold the plant under a gentle stream of lukewarm water and use your fingers to carefully rinse away the remaining fibres. Some aquarists recommend using a soft brush for this step, but I’ve found fingers work just as well and give you better feedback about how much pressure you’re applying. You want to be thorough enough to remove the bulk of the rockwool, but not so aggressive that you’re stripping away healthy roots. **Dealing with Stubborn Sections** Occasionally, you’ll find rockwool that’s become quite tightly bound to the root system.
This often happens with plants that have been in their pots for extended periods. Rather than forcing it, trim these sections back to where you can cleanly separate plant from medium. This might mean losing some root mass, but healthy aquarium plants can regenerate roots quite readily once planted.
It’s better to plant a slightly smaller root system that’s undamaged than to plant a larger one that’s been mangled during rockwool removal. ## Planting Techniques for Different Substrate Types **Sand and Gravel Substrates** With inert substrates like sand or gravel, your planting technique needs to account for the fact that the plant will be getting most of its nutrients from the water column, at least initially. Dig a hole slightly larger than the root system and deep enough that the crown of the plant sits at substrate level. Gently spread the roots before backfilling with substrate.
This encourages the plant to establish a broad root base rather than growing in a tight clump. Pack the substrate firmly enough to anchor the plant, but not so tightly that you’re compressing the roots. For plants with extensive root systems, like sword plants or crypts, you might want to add a root tab or two near the planting site.
This provides localised nutrition while the plant establishes itself in your tank’s ecosystem. **Nutrient-Rich Substrates** Active substrates like ADA Aqua Soil or similar products contain nutrients that plants can access directly through their roots. This changes your planting approach slightly. These substrates are often quite soft, so you need to be more careful about disturbing them during planting.
Create a small depression in the substrate and gently place the plant’s root system into it. Carefully push substrate around the roots rather than trying to push the plant down into a pre-dug hole. This minimises cloudiness and prevents you from compacting the substrate too much.
The advantage of nutrient-rich substrates is that newly planted specimens typically establish faster and show growth sooner than plants in inert substrates. The trade-off is higher initial cost and the need to manage the nutrient release carefully to avoid algae issues. **Mixed Substrate Systems** Some aquascapers use a layered approach with nutrient-rich substrate at the bottom and a cap of sand or gravel on top. If you’re planting into this type of system, your hole needs to be deep enough that the roots can reach the nutrient layer.
This often means digging through the cap layer entirely and planting into the lower substrate. Backfill carefully to avoid mixing the layers too much. The roots will grow down into the nutrient-rich layer while the visible substrate remains clean and attractive. ## Managing Water Parameters During Establishment **The Critical First Month** Newly planted specimens, whether you’ve removed the rockwool or left it in place, go through an establishment period where they’re more vulnerable to parameter swings and environmental stress.
During this time, stable conditions matter more than perfect conditions. Keep your lighting consistent but not intense. Newly planted specimens can be overwhelmed by high light levels before their root systems are established enough to support rapid photosynthesis.
I typically run lights at about 70% of normal intensity for the first three to four weeks after planting. Water changes should be frequent but gentle during this period. I do 20% changes twice weekly rather than larger weekly changes.
This keeps parameters stable while removing any decay products from damaged roots or leaves. **Monitoring for Establishment Signs** You’ll know plants are establishing successfully when you see new growth emerging. This typically takes two to four weeks, depending on the species and your tank conditions. New leaves often look different from the older ones, being brighter green and sometimes smaller or differently shaped.
Root development is harder to observe directly, but you can get an indication by gently tugging on the plant after a few weeks. If it resists being pulled up, the root system is developing properly. If it comes up easily, it may need more time or there might be an issue with your substrate or water parameters. ## Common Mistakes and How to Avoid Them
Mistake #1: Rushing the removal process. I see this constantly on forums and in aquatics shops.
You Might Also Like
People get impatient and yank the rockwool off aggressively, damaging the root system in the process. The plant then spends weeks recovering from root damage rather than establishing in its new environment. Take the time to soak and work gently.
An extra ten minutes during planting can save weeks of poor plant performance.
Mistake #2: Assuming all rockwool must be removed. While removing most of it is generally beneficial, obsessing over every last fibre often causes more damage than leaving small amounts in place. If you’ve got 90% of it off and the remaining bits are tightly bound to healthy roots, leave them alone. They won’t harm anything and the plant will grow through them eventually.
Mistake #3: Planting immediately after purchase. Plants that have been in transport or sitting in shop tanks for extended periods benefit from a period of acclimatisation before planting.
I keep new arrivals in a quarantine container with tank water for 24 to 48 hours before planting. This lets them recover from transport stress and gives you time to observe them for any health issues.
Mistake #4: Inadequate fertilisation after rockwool removal. Since rockwool has no inherent nutrients, plants that have been growing in it are accustomed to getting everything from liquid fertilisers. If you remove the rockwool and plant in inert substrate without adjusting your fertilisation routine, the plant can struggle with nutrient deficiency during establishment.
Either add root tabs or increase liquid fertilisation temporarily.
Mistake #5: Expecting immediate growth. Plants that have had their root systems disturbed need time to re-establish before they start showing vigorous growth. Some species, particularly crypts, may actually lose existing leaves before producing new ones adapted to your tank conditions. This is normal and not a sign of failure.
Patience during the establishment period is crucial.
Mistake #6: Oversaturating rockwool if left in place. If you choose to leave plants in their rockwool, be aware that rockwool can lead to cloudiness if oversaturated (The Aquarium Expert FAQ). This typically happens when the rockwool becomes waterlogged and starts breaking down. Monitor plants carefully and consider partial removal if you notice the medium deteriorating.
## Research Support The available research on rockwool in aquarium applications is somewhat limited, but the principles are well established in terrestrial horticulture and hydroponics.
Studies consistently show that rockwool provides excellent moisture retention and aeration properties, making it an effective growing medium for short to medium-term cultivation (The Aquarium Expert Rockwool). The sterile nature of rockwool has been documented as beneficial for preventing disease transmission during plant transport and retail phases (Institute for Environmental Research and Education). This supports the common practise of using rockwool in commercial aquarium plant production.
The nutritional limitations of rockwool are well documented, with consistent findings that plants require external fertilisation when grown in this medium (The Aquarium Expert). This has important implications for aquarists who choose to leave plants in rockwool long-term. ## Application Across Different Tank Types **Community Planted Tanks:** Standard removal and planting techniques work well. Focus on gentle handling and stable conditions during establishment.
Most community tank plants adapt readily to substrate planting after rockwool removal. **High-Tech Planted Tanks:** These systems can handle either approach, but removal is often preferred to avoid potential issues with rockwool breakdown under high light and CO2. The intensive fertilisation typical of high-tech setups supports rapid establishment after planting. **Low-Tech Setups:** Leaving rockwool in place can actually be beneficial in low-tech tanks, as it provides some structure around the roots. However, ensure adequate liquid fertilisation since these tanks often have limited substrate nutrients. **Nano Tanks:** Space constraints make substrate planting preferable in most cases.
Remove rockwool to allow plants to establish properly in the limited substrate volume available. **Shrimp Tanks:** Exercise extra care with water quality during establishment, as shrimp are sensitive to parameter fluctuations. Consider quarantining plants before planting to avoid introducing anything harmful to the shrimp colony. ## Benefits of Proper Plant Preparation **Improved Establishment Success:** Plants that are properly prepared and planted establish faster and more reliably. You’ll see new growth within three to four weeks rather than struggling with declining plants for months. **Reduced Algae Risk:** Healthy, actively growing plants compete effectively with algae for nutrients.
Plants that establish quickly due to proper preparation create a more stable, algae-resistant environment. **Better Long-Term Growth:** Plants with properly established root systems in appropriate substrate show more vigorous long-term growth and better resistance to environmental stress. **Cost Effectiveness:** Proper preparation reduces plant losses, meaning you spend less money replacing specimens that failed to establish. The time invested upfront pays off in reduced replacement costs. **Stable Water Parameters:** Successfully established plants contribute to more stable water chemistry, benefiting all inhabitants of your tank. This is particularly important in smaller tanks where individual plant health has a more significant impact on overall system stability. **Enhanced Aquascape Development:** Plants that establish properly grow according to their natural patterns, allowing you to develop your aquascape as planned rather than constantly replacing failed specimens. ## Step-by-Step Implementation Guide **Phase 1: Preparation and Assessment (Day 1)** Examine your new plants while still in their pots.
Look for signs of damage, disease, or pest issues. Healthy plants should have firm, green foliage and white or light-coloured roots visible through the rockwool. Set up a workspace with bowls for soaking, lukewarm water, and good lighting.
Have your planting tools ready: aquascaping tweezers or fingers work fine for most applications. **Budget Breakdown:** * Aquascaping tweezers (optional): £8-15 * Root tabs if using inert substrate: £5-12 * Total Phase 1 Budget: £0-27 **Phase 2: Rockwool Removal (Day 1-2)** Remove plants from pots and soak in tank-temperature water for 10-15 minutes. Gently tease apart the rockwool, working from outside to inside. Rinse under gentle water flow to remove remaining fibres.
Trim any damaged or blackened roots with clean scissors. This encourages healthy new root development. Watch for: Plants should feel firm, not mushy.
Healthy roots should be white or cream coloured. **Budget Breakdown:** * Plant scissors (if needed): £10-20 * Total Phase 2 Budget: £0-20 **Phase 3: Planting and Initial Establishment (Days 2-7)** Plant specimens at appropriate depths in your chosen substrate. Crown should be at substrate level for most species. Add root tabs near planting sites if using inert substrate.
Reduce lighting to 70% normal intensity for the first week.
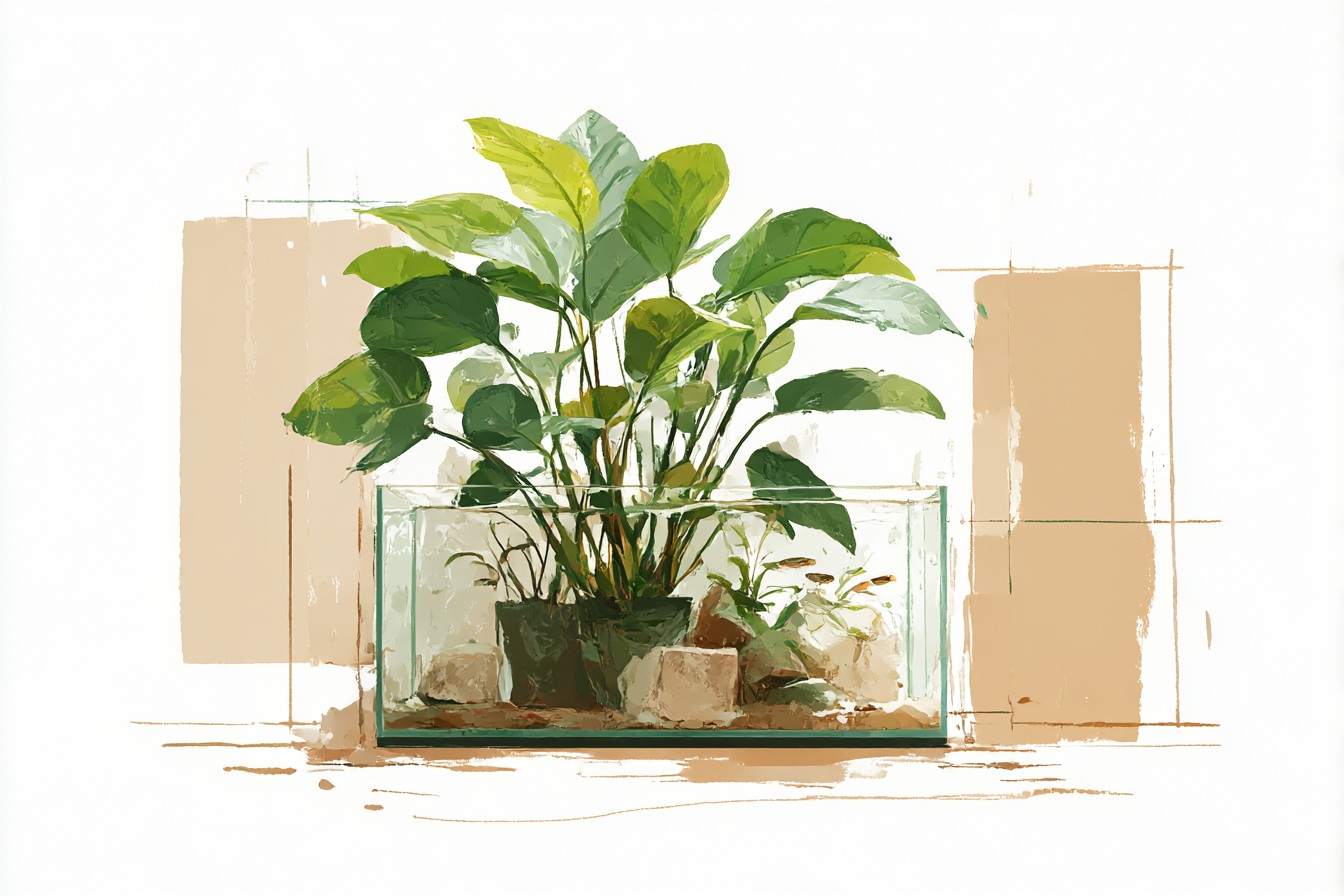
Maintain stable parameters with frequent, small water changes. Watch for: Signs of shock (sudden leaf loss), parameter swings, or unusual behaviour in fish or other inhabitants. **Budget Breakdown:** * Additional liquid fertiliser: £8-15 * Root tabs: £5-12 * Total Phase 3 Budget: £13-27 **Phase 4: Monitoring and Adjustment (Weeks 2-4)** Gradually increase lighting back to normal levels.
Monitor for new growth, which typically appears after 2-3 weeks. Adjust fertilisation based on plant response and algae development. Continue frequent water changes but reduce frequency as plants establish.
Watch for: New leaf development, signs of root establishment (resistance when gently tugged), any persistent algae issues. **Budget Breakdown:** * Additional water conditioner for frequent changes: £3-8 * Total Phase 4 Budget: £3-8 **Phase 5: Long-Term Management (Month 2 onwards)** Return to normal maintenance routine as plants establish fully. Trim and maintain as needed. Consider propagating successfully established plants for other areas of the tank.
Monitor long-term health and growth patterns to refine your technique for future plantings. **Budget Breakdown:** * Ongoing fertiliser costs: £5-12 monthly * Total Phase 5 Budget: £5-12 monthly **Overall Implementation Budget: £21-82 initial setup plus ongoing fertiliser costs** The process isn’t particularly expensive, but it does require patience and attention to detail. The investment in proper preparation and quality tools pays off in better establishment rates and healthier long-term plant growth. Most of the cost comes from fertilisers and tools you’ll use repeatedly, making the per-planting cost quite reasonable once you have the basics sorted.