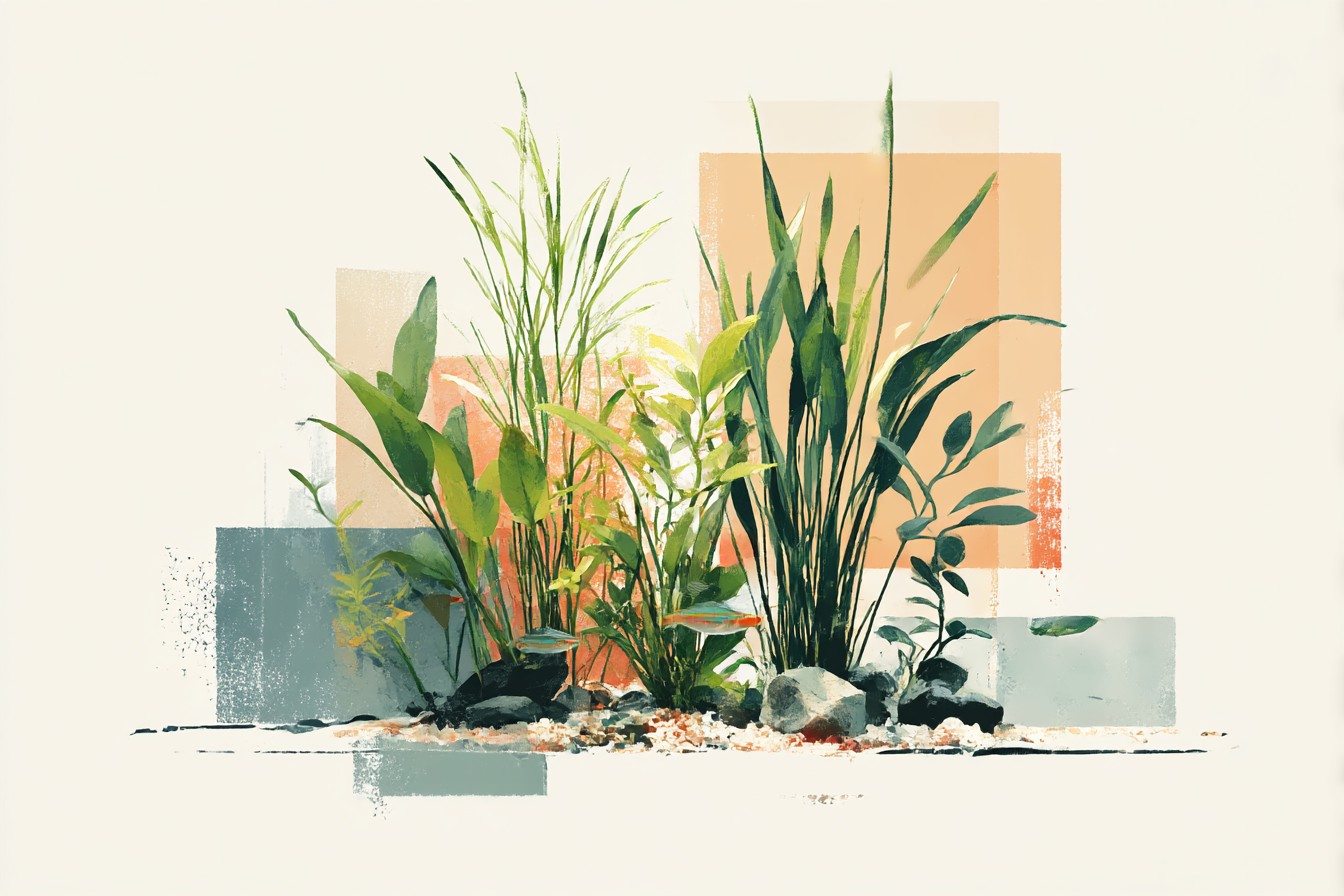
# Aquarium Plants for Shrimp Tanks and What Creates the Best Biofilm Surfaces Setting up a shrimp tank isn’t like throwing together a standard community tank. Your local fish shop might sell you the same plants they’d recommend for any freshwater setup, but shrimp have specific needs that most general aquarium advice completely ignores. They’re grazers who spend most of their time picking through surfaces, looking for the microscopic life that forms their primary food source.
Get the plant selection wrong and you’ll have hungry shrimp in a sterile environment. Get it right and you’ll watch them flourish in ways that surprised even me when I first saw it happen. The difference between a shrimp tank that struggles and one that thrives often comes down to biofilm production.
That thin, slightly slimy layer that forms on surfaces isn’t algae or dirt – it’s a complex community of bacteria, microorganisms, and organic particles that becomes the foundation of your shrimp’s diet. The plants you choose, and how you position them, determine how much biofilm develops and where your shrimp can access it.
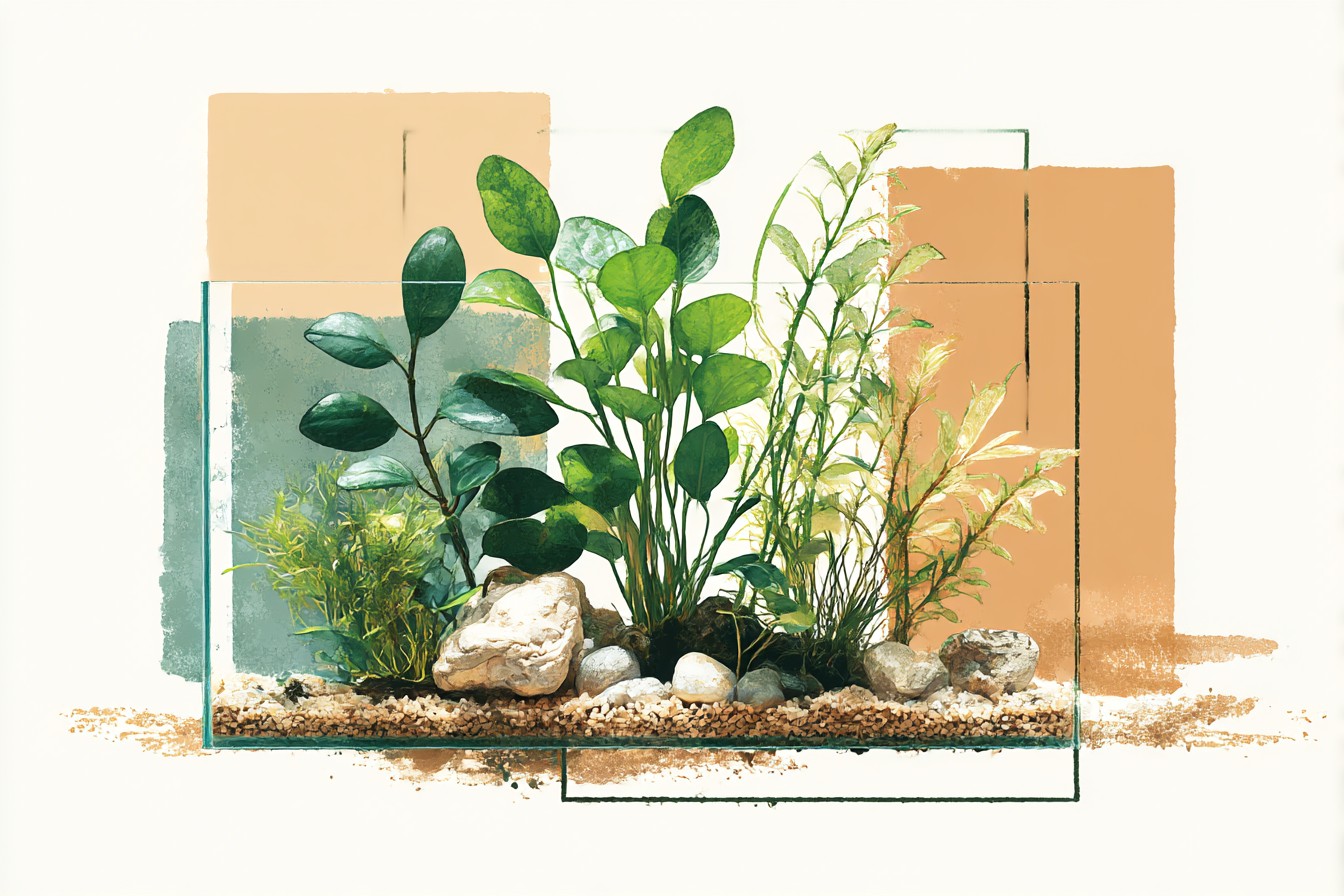
After running half a dozen nano setups in my flat, I’ve learned which combinations actually work and which ones leave you with expensive decorations that don’t feed anything. ## Understanding Biofilm Development in Shrimp Environments **Biofilm Formation and Composition** Biofilm starts forming within hours on any submerged surface, but what makes it valuable to shrimp takes weeks to develop properly.
The initial bacterial colonisation creates a foundation, but the complex microbial community that shrimp actually need includes fungi, protozoans, and microscopic algae that only establish once the basic biofilm structure exists (Wanderinlife). This isn’t just bacteria – it’s an entire ecosystem in miniature. The bacteria break down organic matter, fungi process cellulose from plant material, and protozoans feed on both while producing waste that becomes food for the next level up.
Shrimp position themselves at the top of this microscopic food web, scraping off layers of established biofilm that can take 3-6 weeks to reach proper nutritional density. **Surface Area and Texture Requirements** The amount of biofilm your tank produces depends entirely on available surface area, but not all surfaces are equal. Smooth glass or plastic provides minimal attachment points for initial bacterial colonisation. Rough, porous, or fibrous surfaces hold developing biofilm communities more effectively and resist the shrimp’s constant grazing pressure (AquaFindr).
Plants increase both surface area and the micro-environments that support biofilm development. Fine-leaved species like moss create thousands of tiny attachment points in a small space. Broader leaves provide different microbial communities on their upper and lower surfaces.
The combination gives shrimp access to different types of biofilm with varying nutritional profiles – essential for breeding females and developing juveniles who need diverse micronutrients. **Water Parameters and Biofilm Quality** Cherry shrimp thrive in specific parameter ranges that also optimise biofilm production. Temperature between 72°F to 78°F supports both shrimp metabolism and microbial activity (Shrimp Planet). pH between 6.5 to 7.5 maintains the slightly acidic to neutral conditions that encourage beneficial bacterial growth while preventing harmful pathogen dominance (In Fish Tank). Water hardness between 4 to 8 dGH provides the minerals that both shrimp and biofilm communities need (In Fish Tank).
Too soft and biofilm development slows considerably. Too hard and you get calcium deposits that create unsuitable surface textures. Most UK tap water falls within this range, but the chlorine and chloramines added for treatment will kill developing biofilm if not properly neutralised. ## Plant Selection for Maximum Biofilm Production **Java Moss and Fine-Leaved Species** Java moss remains the gold standard for shrimp tanks because it creates the perfect biofilm environment.
The fine, branching structure provides enormous surface area in minimal space, while the slow growth rate means established biofilm communities aren’t constantly disrupted by pruning. Java moss biofilm becomes the primary food source for shrimplets in their first weeks of life (Aquifarm). I keep clumps of java moss attached to small pieces of slate or bogwood rather than letting it float free.
This creates defined grazing areas that I can move around the tank or remove for maintenance without disrupting the entire moss population. After 8-10 weeks of establishment, you’ll see shrimp spending hours working through the same moss clump, and the constant activity tells you the biofilm is dense enough to support them. Christmas moss and flame moss work similarly but with different growth patterns.
Christmas moss creates more vertical surfaces, while flame moss develops a more bush-like structure. Both take longer to establish dense biofilm than java moss – 10-12 weeks rather than 6-8 – but provide grazing variety once mature. **Broad-Leafed Biofilm Platforms** Anubias species create large, stable surfaces for biofilm development, though the growth rate is slow enough that you won’t see dense communities for 6-8 weeks after planting. The thick leaves resist damage from constant shrimp activity, and both upper and lower leaf surfaces develop different microbial populations.
Anubias nana works well in nano setups, while larger varieties like A. barteri suit bigger tanks. The key with anubias is positioning. I attach them to hardscape rather than planting in substrate, which allows better water circulation around the leaves and prevents the rhizome rot that kills the plant.
Position them where gentle current reaches all leaf surfaces – stagnant water produces biofilm with limited nutritional diversity. Bucephalandra offers similar benefits with more interesting leaf textures and colours. The wavy, often pitted leaf surfaces provide excellent biofilm attachment points, and most species stay small enough for nano tanks.
They’re more expensive than anubias but often worth it for the superior surface characteristics. **Stem Plants and Dynamic Surfaces** Fast-growing stem plants like hornwort and cabomba create constantly renewed biofilm surfaces, but they require different management. The rapid growth means frequent trimming, which disrupts established biofilm communities on the removed portions. However, the fine, feathery foliage creates excellent surface area, and the constant production of new growth provides fresh colonisation sites.
I use stem plants as biofilm nurseries rather than primary grazing areas. The new growth develops biofilm quickly – within 2-3 weeks – providing supplementary feeding while the slower species like moss and anubias build their mature communities. The trimmings become excellent food when composted in a separate container for 4-6 weeks. **Specialised Surface Plants** Certain plants excel specifically at creating optimal biofilm conditions.
Subwassertang forms dense, irregular mats with enormous surface area. It’s technically a type of moss despite the name, and it creates some of the richest biofilm communities I’ve seen. However, it’s notoriously difficult to keep tidy and can overwhelm a small tank if not managed aggressively.
Fissidens fontanus creates carpet-like growth with a different texture than java moss. The flatter, more structured growth pattern suits shrimp that prefer grazing on horizontal surfaces rather than working through three-dimensional moss structures. It establishes more slowly than java moss but creates very stable, long-lasting biofilm communities. ## Natural Biofilm Enhancement Materials **Botanical Additions** Indian almond leaves provide large surface areas for biofilm development while slowly releasing tannins that benefit both shrimp health and microbial growth (Shrimp Science).
I add 2-3 leaves per 40 litres of water, replacing them as they break down after 6-8 weeks. The decomposition process feeds the biofilm communities while the leaf structure provides grazing surfaces. Cholla wood creates excellent biofilm growing surfaces with its porous, fibrous internal structure (Marcus Fish Tanks).
The hollow cylindrical pieces allow water circulation through the interior while providing protected spaces where biofilm can develop without constant grazing pressure. Cholla typically needs 2-3 weeks of soaking before use to remove air bubbles and tannins, but once established it produces dense biofilm for months. Alder cones release compounds that encourage beneficial bacterial growth while providing textured surfaces for colonisation.
I use 1-2 cones per 20 litres, replacing them monthly as they break apart. The breakdown process itself feeds biofilm development, creating a continuous cycle of surface renewal and organic input. **Filter Media as Biofilm Surfaces** Sponge filters don’t just provide biological filtration – they become massive biofilm production facilities that shrimp graze constantly (Wanderinlife). The coarse sponge material provides ideal attachment points while the gentle water flow brings nutrients to developing microbial communities.
I use oversized sponge filters in shrimp tanks specifically for this dual function. The surface area inside a mature sponge filter often exceeds that of all the plants combined. After 8-10 weeks of operation, you’ll see shrimp clustered around the sponge constantly, and the visible biofilm layer tells you it’s functioning properly.
You Might Also Like
Clean sponge filters gently and infrequently – aggressive cleaning destroys the biofilm communities your shrimp depend on. ## Common Mistakes in Shrimp Plant Selection
Mistake #1: Choosing plants for appearance rather than function. Most planted tank plants are selected for visual appeal, but shrimp need specific surface characteristics that many attractive species don’t provide. Plants with smooth, waxy leaves like some crypts produce minimal biofilm, leaving shrimp with beautiful but useless decorations. Choose function first, then work on aesthetics within those constraints.
Mistake #2: Overstocking fast-growing species. Stem plants that require weekly trimming constantly disrupt biofilm development.
New aquarists often plant heavily with fast growers, then wonder why their shrimp seem constantly hungry despite abundant plant matter. Limit fast growers to 20-30% of your plant mass and focus on slow, stable species for primary biofilm production.
Mistake #3: Using CO2 injection in shrimp-focused tanks. High CO2 levels can stress shrimp, and the rapid plant growth it promotes actually reduces biofilm development by constantly creating new, uncolonised surfaces. Most shrimp-safe plants thrive in low-tech conditions that better support biofilm communities.
Save the CO2 for dedicated plant tanks.
Mistake #4: Over-cleaning established surfaces. That slightly fuzzy appearance on mature plants and decorations is exactly what your shrimp need. New fishkeepers often scrub it off, thinking it looks untidy, then struggle to understand why their shrimp population isn’t thriving. Mature biofilm looks different from pristine surfaces – learn to recognise the difference.
Mistake #5: Insufficient surface variety. Using only one type of plant or decoration creates monoculture biofilm that lacks nutritional diversity.
Shrimp benefit from grazing different surface types that support different microbial communities. Mix fine mosses, broad leaves, and porous hardscape to provide varied biofilm environments.
## Research Supporting Plant-Based Biofilm Systems Multiple studies demonstrate that diverse plant selections significantly improve shrimp survival and breeding success compared to bare or minimally planted setups. The increased microorganism populations and surface area that plants provide directly correlate with improved shrimp health metrics (AquaFindr).
Specific research on java moss confirms its role as a primary food source for juvenile shrimp, with shrimplets showing measurably better growth rates in heavily moss-planted tanks versus those with minimal plant coverage (Aquifarm). The plant’s surface structure provides optimal biofilm development conditions that other species struggle to match. Temperature studies show that biofilm development peaks within the same range that supports optimal shrimp health – 70°F to 78°F – suggesting these parameters evolved together in natural environments (Aquifarm).
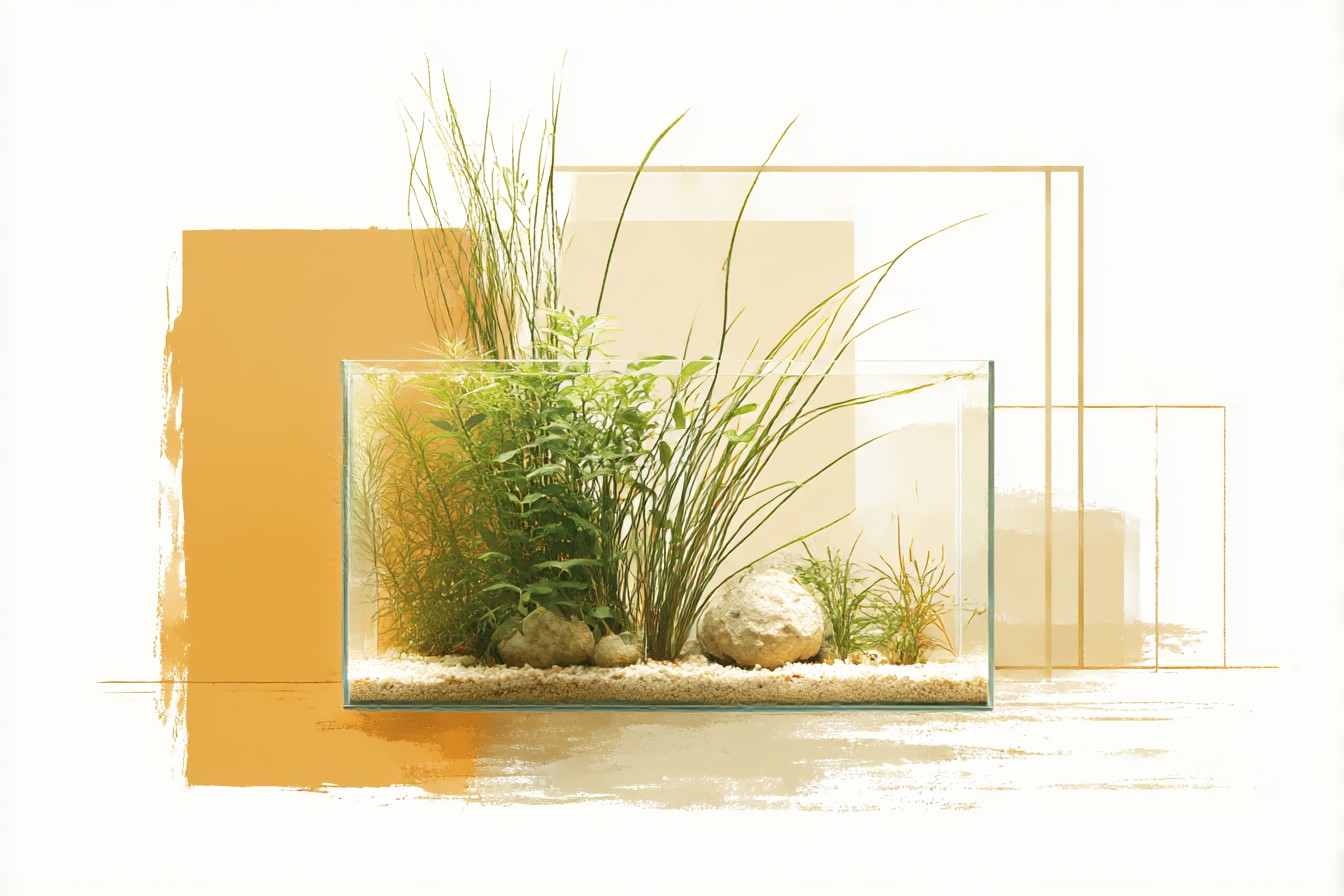
This overlap makes parameter management simpler when optimising for both plant health and biofilm production. ## Applications Across Different Tank Types **Nano Breeding Setups:** Focus on fine-leaved mosses and small anubias species that provide maximum biofilm surface area without overwhelming the limited space. One large java moss clump and 2-3 small anubias plants typically sufficient for 20-40 litre breeding tanks. **Community Shrimp Tanks:** Incorporate both fast and slow-growing species to balance biofilm production with visual appeal. Use stem plants sparingly and position slower species where fish won’t damage them during feeding. **Species-Specific Tanks:** Caridina species often prefer softer water that affects plant selection.
Choose species like java moss and certain crypts that tolerate lower hardness levels while maintaining biofilm production capabilities. **High-Density Colonies:** Emphasise surface area over variety. Multiple java moss clumps, oversized sponge filters, and botanical additions like indian almond leaves provide the biofilm density needed to support large populations. **Breeding vs Growing-Out:** Breeding tanks need fine-textured surfaces for shrimplet grazing, while grow-out tanks benefit from larger surface areas that support juvenile and adult feeding. Adjust plant selection based on the life stages you’re supporting. ## Benefits of Proper Plant Selection **Improved Survival Rates:** Tanks with adequate biofilm-producing plants typically show 15-25% better survival rates in newly introduced shrimp populations.
The established food sources reduce stress during acclimation while supporting natural feeding behaviours. **Enhanced Breeding Success:** Females with access to diverse biofilm sources produce larger, more viable clutches. The varied micronutrients available from different plant surfaces support egg development and improve hatch rates noticeably within 4-6 breeding cycles. **Natural Population Control:** Well-fed shrimp populations self-regulate more effectively than those dependent on supplemental feeding. Biofilm availability naturally limits population density to sustainable levels, preventing the crashes common in overstocked tanks. **Reduced Maintenance Requirements:** Mature plant and biofilm systems become largely self-sustaining after 12-16 weeks.
Water changes can be reduced to fortnightly intervals, and supplemental feeding becomes unnecessary except during breeding periods or population growth phases. **Cost Effectiveness:** Initial plant investment of £40-60 eliminates ongoing food costs while providing better nutrition than commercial shrimp feeds. The self-sustaining nature means lower long-term maintenance costs compared to heavily supplemented systems. **Environmental Stability:** Dense plant growth moderates pH swings and provides oxygen during photosynthesis while the biofilm communities help process waste products. This creates more stable water parameters with less active management required. ## Step-by-Step Tank Establishment **Phase 1: Foundation Planting (Weeks 1-2)** Start with slow-growing, biofilm-producing species that will form the backbone of your system.
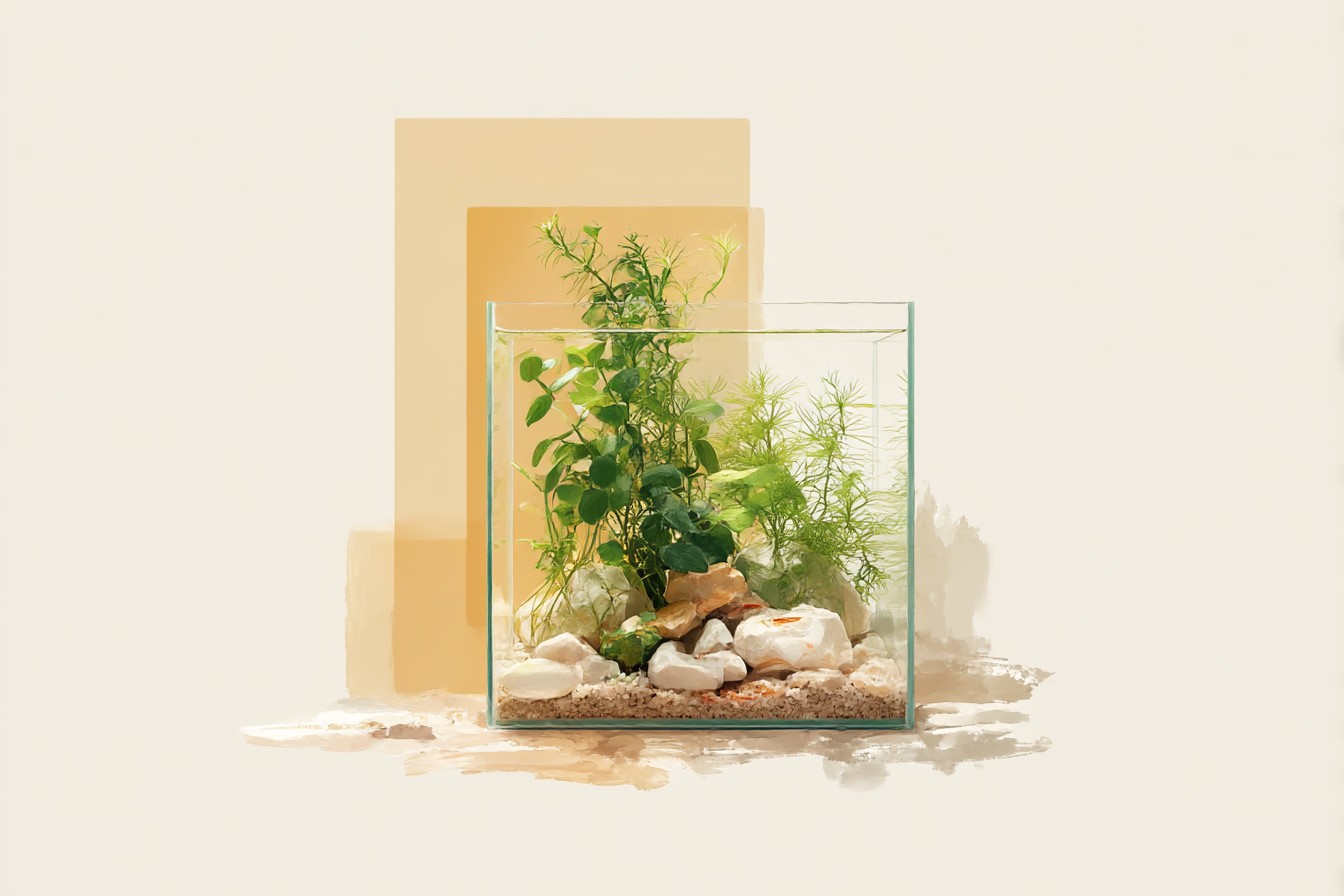
Plant java moss attached to small pieces of slate or bogwood, and position 2-3 small anubias plants on hardscape elements. Add botanical elements like indian almond leaves and alder cones to begin the biofilm development process.
Install your sponge filter and begin fishless cycling if starting from scratch. **Budget Breakdown:** * Java moss portion: £8-12 * Anubias nana (3 plants): £15-20 * Indian almond leaves (10 pack): £6-8 * Alder cones (20 pack): £5-7 **Total Phase 1: £34-47** **Phase 2: Surface Diversification (Weeks 3-4)** Add complementary species like fissidens fontanus or Christmas moss to provide different biofilm textures.
Include one or two pieces of cholla wood for additional surface area and structural interest. Begin monitoring water parameters and watch for initial biofilm formation on surfaces. Avoid the temptation to clean anything – let the microbial communities establish. **Budget Breakdown:** * Christmas moss portion: £6-10 * Cholla wood (2 pieces): £8-12 * Additional botanicals: £5-8 **Total Phase 2: £19-30** **Phase 3: Maturation and Fine-Tuning (Weeks 5-8)** Allow planted elements to establish without interference.
Biofilm should be visibly developing on most surfaces by week 6. Add shrimp during this phase once ammonia and nitrite test zero consistently. Monitor shrimp behaviour to identify preferred grazing areas and successful biofilm development zones.
Make minor positioning adjustments if needed, but avoid major disruptions. **Budget Breakdown:** * Water test kit: £12-15 * Replacement botanicals: £5-8 **Total Phase 3: £17-23** **Phase 4: Population Management (Weeks 9-12)** Established biofilm should support initial shrimp population without supplemental feeding. Watch for breeding behaviour and shrimplet survival as indicators of system success. Consider expanding plant coverage if population grows rapidly, or add more surface area through additional moss or botanical elements.
System should be largely self-sustaining by week 12. **Budget Breakdown:** * Additional plants (if needed): £10-15 * Expansion materials: £8-12 **Total Phase 4: £18-27** **Complete System Budget: £88-127** The investment pays for itself through eliminated feeding costs within 6-8 months while providing superior nutrition and environmental stability compared to artificially fed systems. Most of my setups now run on this model, and the difference in shrimp health and breeding success convinced me it’s worth the initial plant investment every time.