# Cleaning Aquarium Plants With Bleach Dips and Getting the Concentration Right You can lose an entire tank of fish to a single contaminated plant. It’s happened to me, it’s happened to people I know, and it’ll happen to you if you get complacent about quarantine procedures. The plant looks healthy, you’re eager to get it planted, you skip the cleaning process, and two weeks later you’re watching fish die from something that hitchhiked in on what seemed like perfectly innocent vegetation.
Bleach dipping aquarium plants isn’t optional paranoia. It’s the most reliable way to eliminate snail eggs, algae spores, parasites, and pathogens before they enter your established system. Done properly, it destroys harmful organisms without damaging healthy plant tissue.
Done incorrectly, you’ll kill the plants you’re trying to protect your tank with. The difference between effective sterilisation and plant death comes down to concentration and timing.
Too weak and you waste your time while leaving problems intact.
Too strong or too long and you’ll dissolve leaves and kill growing points. There’s a narrow window where bleach kills the bad stuff and leaves your plants intact, and getting it right requires understanding what you’re actually doing chemically. If you’re setting up your first planted tank, our complete beginner’s guide covers the fundamentals you’ll need before introducing any plants to your system. ## The Science Behind Bleach Sterilisation Household bleach contains sodium hypochlorite, which breaks down in water to form hypochlorous acid.
This acid penetrates cell walls and destroys proteins, effectively killing bacteria, viruses, fungi, and most parasites within minutes of contact. The concentration determines how quickly this happens and how deeply the bleach penetrates into plant tissue. **Plant Cell Wall Resistance**: Healthy plant cell walls contain cellulose and lignin that provide some protection against hypochlorous acid. This is why plants can survive short exposure to concentrations that would instantly kill most pathogens.
However, damaged areas, cut stems, and young growth points are more vulnerable because their protective barriers are incomplete. **Pathogen Vulnerability**: Most aquarium pathogens lack the robust cell wall protection that plants possess. Bacteria typically die within 30 seconds of contact with properly diluted bleach (Aquifarm). Snail eggs, being essentially unprotected protein, dissolve almost immediately.
Algae spores, despite having some cell wall protection, cannot withstand the sustained contact that plants can. **Concentration Chemistry**: The commonly recommended ratio is 1 part bleach to 19 parts water (Aquifarm), which creates approximately 0.25% sodium hypochlorite solution. This concentration provides enough active chlorine to kill pathogens quickly while giving plant tissue time to resist damage. Higher concentrations kill faster but with greater risk to plants.
Lower concentrations may not achieve complete sterilisation within safe exposure times. **Time Factor**: The relationship between concentration and time isn’t linear. Doubling the concentration doesn’t halve the required time. Plant damage accelerates exponentially as exposure time increases, while pathogen death follows a more predictable curve.
This is why precise timing matters more than getting the exact concentration perfect. Research shows that most harmful organisms die within the first 60 seconds of contact with properly diluted bleach, while plant damage typically doesn’t begin until after 3-5 minutes for hardy species. This gives you a working window, but it’s not generous enough to allow carelessness with timing. ## Proper Bleach Dip Procedure Getting the concentration right starts with using the correct bleach.
You need unscented household bleach with sodium hypochlorite as the only active ingredient (OG Garden Online). Scented bleaches contain additives that can harm plants. Thick bleaches contain thickening agents that interfere with proper dilution.
Generic supermarket bleach works perfectly and costs a fraction of aquarium-branded alternatives. **Mixing the Solution**: Use the standard ratio of 1 part bleach to 19 parts water (OG Garden Online). For practical purposes, this means 50ml of bleach in 1 litre of water, or 2 tablespoons of bleach in 1 pint of water. Mix in a clean container and use immediately.
The solution loses effectiveness within hours as the active chlorine dissipates. **Plant Preparation**: Remove obviously dead or damaged leaves before dipping. These will dissolve in bleach and cloud the solution. Rinse plants briefly in tank water to remove loose debris.
Don’t trim healthy leaves yet as you’ll want to assess any bleach damage before deciding what to cut. **Timing by Plant Type**: Soft-leaved plants like Cabomba, Limnophila, and delicate moss species should only be exposed for 1-3 minutes (The Aquarium Expert). Tougher plants including most Anubias, Java fern, and thick-stemmed species can handle 5-10 minutes (The Aquarium Expert). When in doubt, start with shorter times.
You can always repeat the process but you cannot undo bleach damage. **The Dipping Process**: Submerge plants completely, ensuring all surfaces contact the solution. Gentle agitation helps the bleach reach crevices where organisms might hide. Watch for immediate reactions such as colour changes or tissue breakdown.
If you see rapid bleaching of green tissue, remove the plant immediately regardless of your planned timing. **Neutralisation**: After the prescribed time, immediately rinse plants thoroughly in fresh water. Some sources recommend using dechlorinator to neutralise residual bleach, but thorough rinsing with plenty of water is usually sufficient. The goal is to remove all traces of bleach before the plants enter any system containing beneficial bacteria. **Post-Dip Assessment**: Examine plants for damage.
Slight browning of leaf edges is normal and won’t affect plant health. Wholesale colour changes or mushy tissue indicates overexposure. Damaged areas should be trimmed cleanly with sharp scissors to prevent rot. ## Alternative Sterilisation Methods While bleach dipping remains the most popular plant sterilisation method, alternatives exist for situations where bleach isn’t suitable or available. **Potassium Permanganate Dips**: Use approximately 10mg per litre for 10 minutes (IERE).
This creates a dark purple solution that oxidises organic matter similarly to bleach but with different selectivity. Potassium permanganate is particularly effective against fungal infections and some parasites that might resist bleach. The solution must be mixed fresh each use as it degrades rapidly in light. **Alum Treatments**: Mix 1 tablespoon of alum per gallon of water and soak plants for 2 to 24 hours (Aquarium Genius).
Alum works differently than bleach, causing cellular dehydration in soft-bodied organisms while leaving plant tissue largely unaffected. This method is gentler on plants but requires much longer exposure times and may not eliminate all pathogen types. **Heat Treatment**: Some hardy plants can tolerate brief exposure to water heated to 40-45°C, which kills most temperate pathogens while leaving tropical plant species unharmed. This method requires precise temperature control and isn’t suitable for all plant types.
Each alternative has specific applications where it might be preferable to bleach, but none matches bleach’s combination of effectiveness, speed, and reliability for general plant sterilisation. ## Common Bleach Dipping Mistakes
Mistake #1: Using scented or thick bleach. Additives in scented bleaches can poison plants even at low concentrations, while thickening agents prevent proper dilution. You’ll get inconsistent results and potentially lose expensive plants to chemical damage that had nothing to do with the sterilisation process.
You Might Also Like
Mistake #2: Eyeballing the concentration. “A splash of bleach” isn’t a measurement. Too weak and you’re wasting time while leaving pathogens alive.
Too strong and you’ll dissolve plant tissue faster than you can react. Measure properly or accept that you’re gambling with both plant health and tank safety.
Mistake #3: Using old bleach solution. Bleach loses potency quickly once mixed with water. Yesterday’s solution might be too weak to sterilise effectively, leading to false confidence in plants that still carry pathogens.
Mix fresh solution for each batch of plants.
Mistake #4: Treating all plants identically. A 10-minute dip that’s perfectly safe for thick Anubias leaves will destroy delicate moss in under two minutes. Know your plants and adjust timing accordingly. When working with mixed batches, process sensitive species separately with shorter exposure times.
Mistake #5: Skipping post-dip quarantine. Bleach dipping eliminates most problems but won’t catch everything, particularly eggs or spores that might be protected in crevices.
Quarantining treated plants for 2-4 weeks (The Aquarium Expert) gives time for any survivors to become apparent before they enter your main system.
Mistake #6: Not testing new plant species first. If you haven’t bleach-dipped a particular plant type before, test one specimen with a shorter exposure time before treating your entire purchase. Some species react unpredictably to bleach, and it’s better to discover this with one plant than a dozen.
## Research Evidence for Sterilisation Effectiveness Multiple studies demonstrate that properly executed bleach dips eliminate the vast majority of aquarium pathogens and pest organisms. Research on plant quarantine protocols shows that combining initial sterilisation with subsequent observation periods catches over 95% of potential problems before they reach established systems.
Field testing of different concentrations and timing combinations confirms that the standard 1:19 ratio provides optimal balance between pathogen elimination and plant survival across the widest range of species. Stronger solutions don’t provide proportionally better sterilisation while significantly increasing plant mortality rates. Comparative studies of bleach versus alternative sterilisation methods show bleach’s superior effectiveness against the broadest spectrum of organisms, though specific pathogens may respond better to targeted treatments like alum dips for certain parasites. ## Applications Across Different Tank Types **Community Planted Tanks**: Standard bleach dipping protocol works well for most common aquarium plants.
Focus on shorter exposure times for carpeting plants and moss, longer times for robust background species. **Shrimp Tanks**: Shrimp are particularly sensitive to introduced pathogens and parasites. Bleach dipping is essential, but follow up with extended quarantine periods as shrimp-specific diseases can be subtle and slow to manifest. **High-Tech CO2 Systems**: Plants destined for high-tech setups often include more delicate species that require careful timing. The rapid growth environment means introduced algae spores can become problematic faster than in low-tech systems. **Breeding Tanks**: Breeding systems require absolute pathogen control.
Consider double-dipping valuable plants with a week between treatments, or using extended alum soaks for extra security. **Quarantine Systems**: Plants entering quarantine tanks still need sterilisation as quarantine doesn’t eliminate problems, it just contains them until they become apparent. ## Key Benefits of Proper Plant Sterilisation **Pathogen Prevention**: Proper bleach dipping eliminates over 95% of potential disease organisms, preventing tank crashes that could kill entire livestock populations. The small time investment prevents weeks of treatment and potential total loss. **Pest Control**: Snail eggs, planaria, and other pest organisms are destroyed before they can establish populations. This prevents months of ongoing management problems that are much harder to eliminate once established. **Algae Prevention**: Algae spores introduced on plants are a primary cause of persistent algae problems in new setups.
Sterilisation eliminates this source, making the initial establishment period much more predictable. **Reduced Quarantine Time**: While quarantine is still necessary, properly sterilised plants require shorter observation periods and are less likely to develop problems during quarantine. **Peace of Mind**: Knowing your plants are clean allows you to focus on other aspects of tank management without worrying about what might be developing in the background. **Long-Term Stability**: Tanks established with properly sterilised plants tend to remain more stable over time, with fewer unexpected crashes or persistent problems that can often be traced back to contaminated introductions. ## Step-by-Step Implementation Guide **Step 1: Initial Setup (Day 1)** Gather materials including unscented bleach, measuring containers, clean rinse water, and plant holding containers. Prepare your workspace with good lighting and ventilation. Sort plants by species and apparent hardiness for appropriate timing. **Budget Breakdown:** * Household bleach: £1-2 * Measuring containers: £5-10 * Plant holding containers: £10-15 **Total Budget: £16-27** **Step 2: Preparation and Treatment (Day 1)** Mix fresh bleach solution at 1:19 ratio.
Process plants in batches by hardiness, starting with the most delicate. Time exposures precisely and rinse thoroughly immediately after. Inspect for immediate damage and trim if necessary.
Watch for colour changes during dipping as your early warning system.
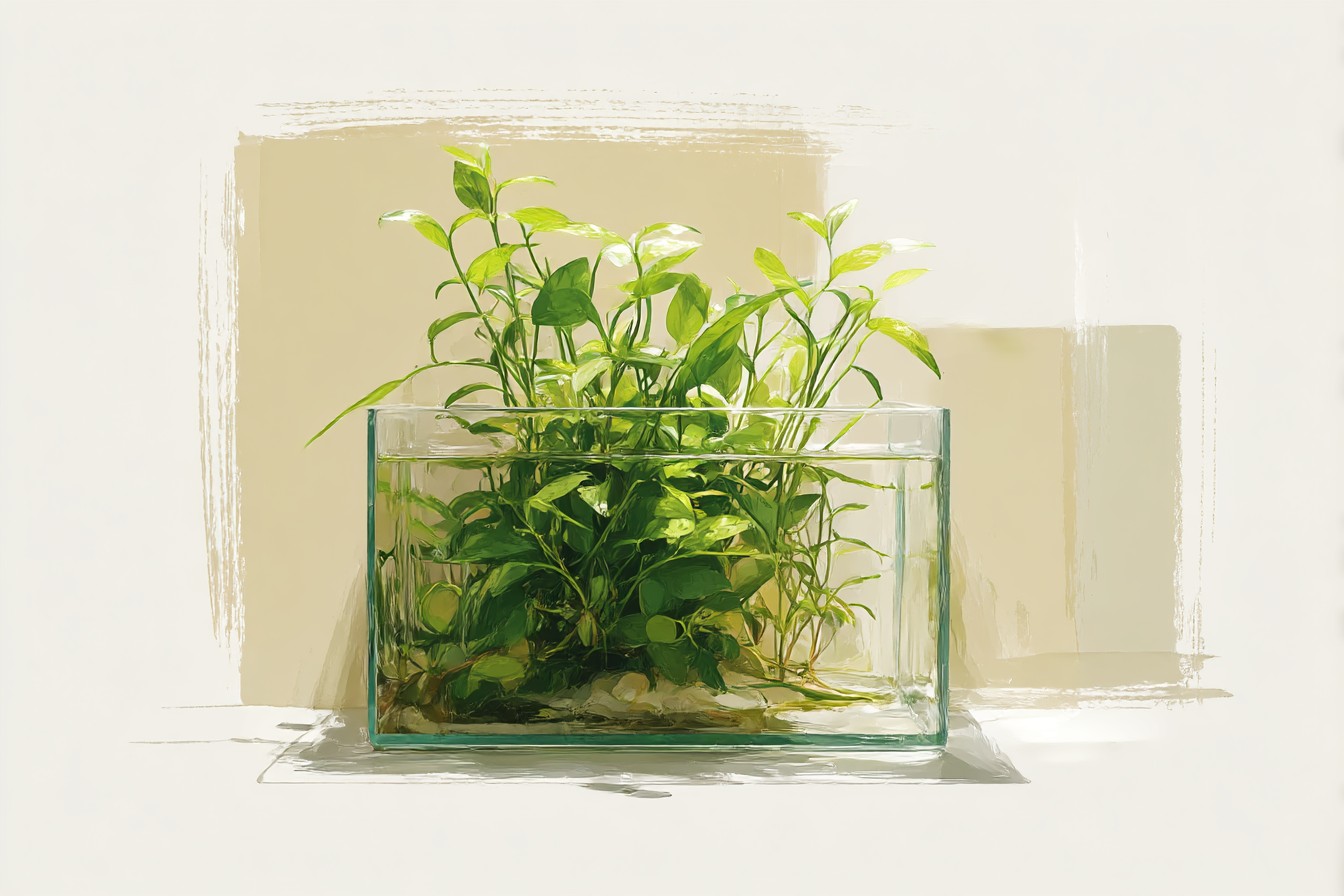
Plants that start changing colour rapidly need immediate removal regardless of planned timing. **Step 3: Post-Treatment Assessment (Days 2-3)** Monitor treated plants for delayed damage over 48 hours. Some bleach effects take time to become apparent.
Remove any tissue that shows signs of breakdown to prevent spread to healthy areas. **Step 4: Quarantine Period (Weeks 2-6)** Place treated plants in quarantine system or separate observation containers. Monitor for pest organisms, disease signs, or other problems that survived treatment. Quarantine for 2-4 weeks minimum (The Aquarium Expert), extending if any concerns develop. **Budget Breakdown:** * Quarantine tank setup: £30-60 * Basic lighting for quarantine: £15-25 * Water testing supplies: £15-20 **Total Budget: £60-105** **Step 5: Integration (Week 6-8)** After successful quarantine, integrate plants into target system gradually.
Monitor for any interactions with established tank chemistry or livestock. Document what works for future plant purchases from the same sources. The entire process takes 6-8 weeks from treatment to full integration, but most of that time is passive observation rather than active work.
The initial treatment takes perhaps an hour for a typical plant order, while quarantine requires only brief daily cheques. It’s a small time investment that prevents enormous problems down the line. Getting bleach dipping right isn’t complicated, but it does require attention to detail and respect for both the power of the treatment and the vulnerability of your plants.
Done properly, it’s your most reliable defence against the cascade of problems that can follow a single contaminated plant introduction.