# Hardscape Nano Tank and Creating Impact in a Small Space Getting serious visual impact from a tank that sits on your desk and holds less water than most people use for a bath sounds like it should be impossible. But nano tanks—typically defined as aquariums under 40 litres (Aquarium Co Op)—can create scenes that stop people mid-conversation when they spot them on a shelf or kitchen counter. The trick is understanding that small spaces follow completely different rules from larger tanks.
I spent months trying to shrink down what worked in my 100-litre setup, cramming miniature versions of big tank layouts into cubes and getting results that looked cluttered and awkward. The breakthrough came when I stopped thinking about nano tanks as small versions of regular tanks and started treating them as a completely different medium. Like the difference between oil painting and watercolour.
Same basic principles, entirely different techniques. The constraints of working in a nano tank—limited space, faster temperature swings, higher maintenance demands—aren’t just obstacles to work around.
They’re creative parameters that force you toward designs you’d never consider in a larger space.
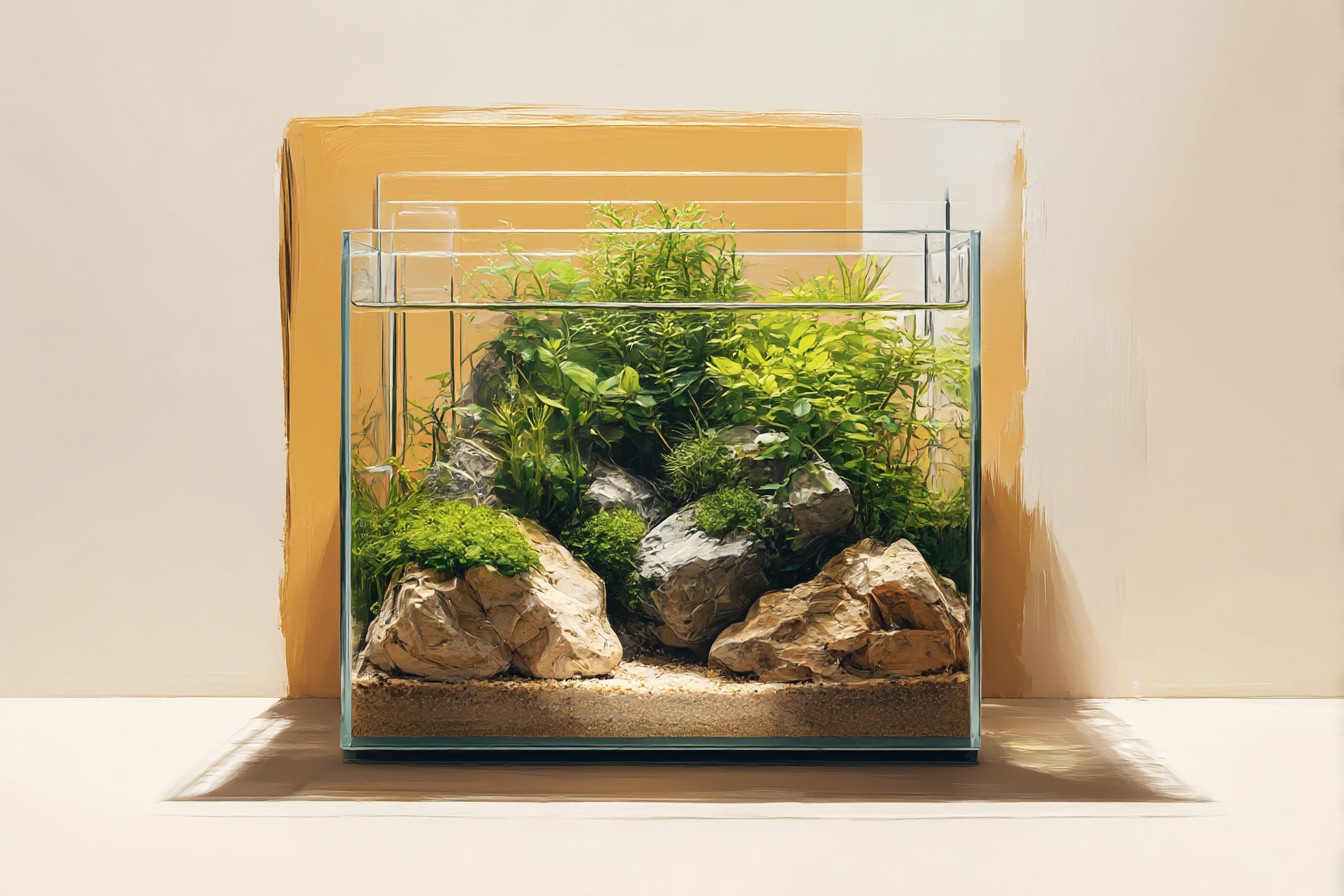
When you can only fit three pieces of stone and still leave swimming room, every single rock has to earn its place. That constraint produces cleaner, more focused compositions than you get when space isn’t an issue. ## The Physics of Small Spaces Working in nano dimensions means dealing with physics that barely matter in larger tanks. Small tanks lose heat faster due to higher surface area ratio (The Spruce Pets), which means temperature stability becomes a genuine concern if you’re keeping fish.
Evaporation rate is higher in small open top aquariums (Practical Fishkeeping), so water levels drop noticeably within days rather than weeks. **Heat Distribution**: The entire water volume in a 20-litre tank can shift temperature by several degrees if positioned near a window or radiator. This affects plant growth rates and fish behaviour in ways that simply don’t happen in larger volumes where thermal mass provides buffering. **Light Penetration**: High light intensity is often needed in shallow nano tanks (ADA Global) because the shorter distance between light and substrate means less dispersion. A light that would be perfect for a 40cm tall tank becomes inadequate in a 25cm cube even with the same floor area. **Water Chemistry Stability**: Nano aquariums require more frequent water changes up to twice weekly (PetMD) because the smaller water volume means any biological or chemical imbalance shows up faster and hits harder.
Adding a single dead leaf or overfeeding once can crash parameters that would barely shift in a larger system. **Visual Perspective**: Your eye processes nano tanks differently because the entire scene sits within your normal field of focus. In a two-metre tank, you scan across the layout. In a nano, you take in the whole composition at once, which means every element needs to work together simultaneously rather than revealing details as you look around. ## Hardscape Design Principles for Nano Scales Miniaturising hardscape isn’t about finding smaller rocks and wood.
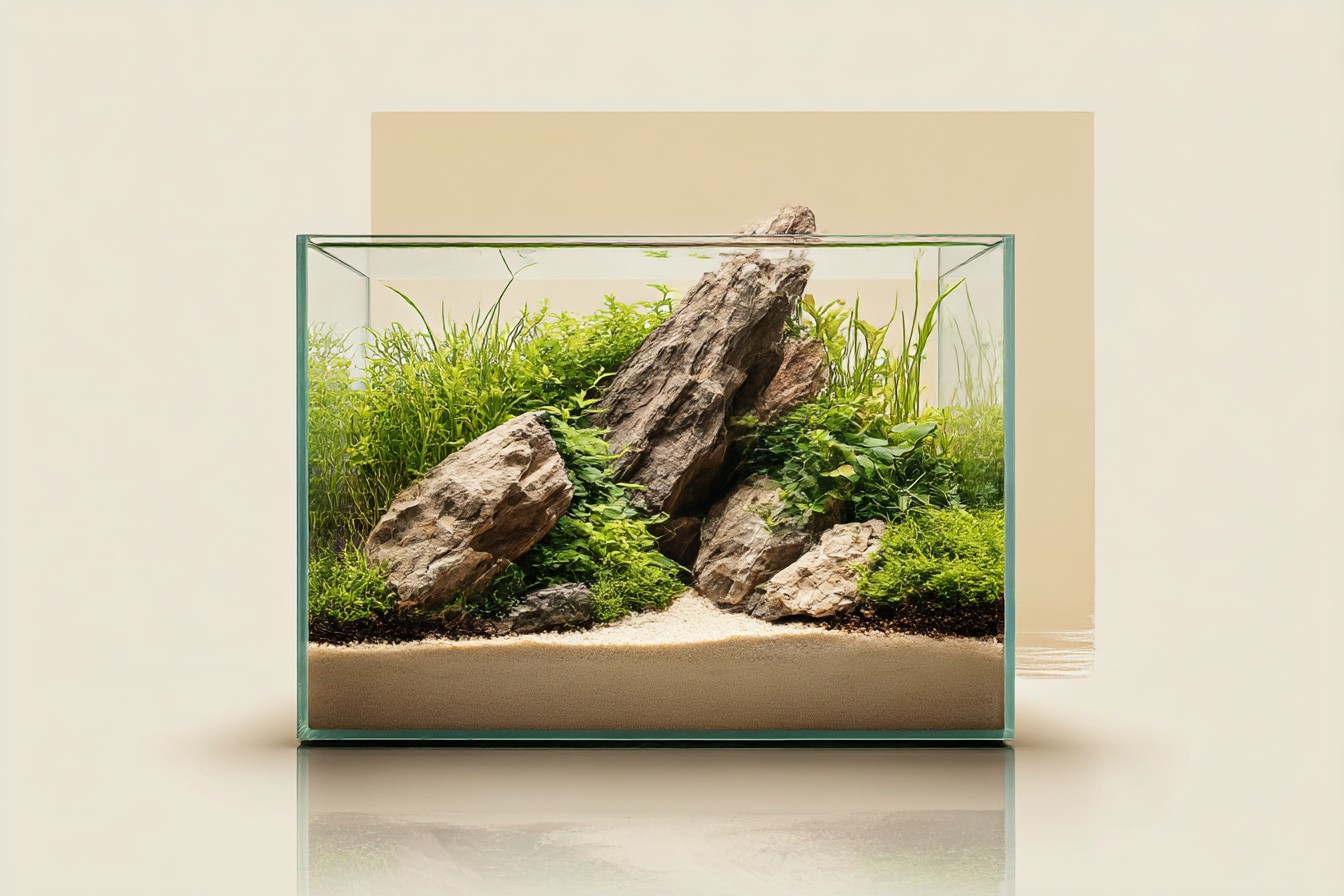
It’s about understanding which design principles actually scale down and which ones break completely at nano dimensions. **Single Dominant Elements**: Using one dominant stone creates stronger focal impact (Green Aqua) than trying to balance multiple focal points in a limited space. In a 30-litre cube, three similar sized rocks compete for attention. One primary rock with smaller supporting stones creates hierarchy your eye can follow.
I learned this the expensive way after building a layout with five pieces of Ohko stone that all fought for attention. The tank looked busy rather than dramatic. Swapping to one substantial piece of dragon stone with two small accent pieces immediately created focus.
The single dominant element gives your brain somewhere to land before taking in the supporting details. **Scale Relationships**: Hardscape scale must match tank dimensions to avoid crowding (Aquarium Gardens). A piece of wood that creates perfect proportion in a 200-litre tank becomes overwhelming in a 25-litre cube. The mathematics here are stricter than intuition suggests.
Wood or stone should generally occupy no more than 20-25% of the substrate area in nano layouts, compared to 30-40% in larger tanks. **Vertical Emphasis**: Compact driftwood enhances vertical perception in small tanks (Buce Plant) because it draws the eye upward rather than across the limited horizontal space. A piece of Malaysian driftwood that reaches from substrate to near the surface makes a nano tank feel taller than it actually is. Horizontal pieces emphasise the width, which reminds you how narrow the tank really is. **Negative Space Management**: Open foreground space increases visual depth in nano layouts (UKAPS).
This sounds counterintuitive when space is precious, but cramming hardscape from front to back makes nano tanks look even smaller. Leave the front third completely open and position your main hardscape elements in the back two-thirds. The golden ratio still applies but at a compressed scale.
If your nano tank is 30cm deep, your main focal point wants to be about 18-20cm from the front glass. That gives enough negative space to create depth while ensuring the hardscape doesn’t disappear against the back wall. ## Material Selection for Maximum Impact Not every hardscape material works well at nano scale. Some stones and woods that look dramatic in larger tanks become muddy or overwhelming when confined to small dimensions. **Stone Selection**: Dragon stone works exceptionally well in nano tanks because its texture creates interest even in small pieces.
Ohko stone can work but needs careful selection—the heavily textured varieties that look stunning in large tanks often appear cluttered in nano dimensions. Seiryu stone scales down beautifully because its clean lines and subtle texture don’t compete for attention. Choose stones with interesting shapes rather than relying on size for impact.
A piece of dragon stone with an interesting curve or hollow creates more visual interest than a larger but less characterful chunk of rock. I keep stones for nano projects in a separate box, specifically selected for shape rather than size. **Wood Characteristics**: Malaysian driftwood branches work better than thick, gnarled pieces that overwhelm small spaces. Redmoor root needs to be chosen carefully—the twisted, gnarly pieces that create drama in large tanks often look like they’ve been crammed into a space too small for them.
Spider wood scales down particularly well because its branching structure creates complexity without bulk. A single piece can provide multiple anchor points for plants while maintaining clean lines. Avoid wood with too many small branches as they create visual noise in nano tanks. ## Common Implementation Mistakes
Mistake #1: Proportional overcrowding. Trying to fit everything you’d put in a larger tank into nano dimensions.
I see this constantly—tiny versions of island layouts with multiple stone groups, background forests, midground details, and foreground carpets. The result looks like a child’s playmat rather than a natural scene. Choose one main idea and execute it cleanly rather than cramming in multiple concepts.
Mistake #2: Wrong lighting assumptions. Using low light setups because the tank is small.
Many nano tanks actually need more intense lighting per litre than larger tanks due to their shallow depth and the physics of light distribution. A light that works perfectly on a 60cm tall tank will be inadequate on a 30cm cube if you want decent plant growth.
You Might Also Like
Mistake #3: Ignoring maintenance access. Creating layouts that look perfect when new but can’t be maintained properly. In nano tanks, you need to reach every corner for cleaning and plant maintenance.
Design paths for your hands and tools from the beginning, not as an afterthought when you’re trying to trim plants three months later.
Mistake #4: Substrate depth errors. Either using too much substrate because you’re used to larger tanks, or too little because you’re trying to maximise water volume. Nano tanks typically need 3-4cm of substrate maximum. More than that eats too much of your limited volume and can create anaerobic pockets in small spaces.
Mistake #5: Scale inconsistency. Mixing hardscape elements of wildly different scales.
A massive piece of dragon stone paired with tiny pebbles looks awkward. Your supporting elements need to relate proportionally to your main focal point, just at a smaller overall scale.
Mistake #6: Temperature placement ignorance. Positioning nano tanks where temperature swings will cause problems, then wondering why fish behaviour is erratic or plants growth is inconsistent. Small volumes have no thermal mass to buffer temperature changes, so placement near heat sources or cold draughts causes constant stress.
## Research Foundation for Nano Design Multiple studies on visual perception and spatial design support what experienced nano aquascapers have learned through trial and error.
Minimalist layouts work best in tanks under 10 gallons (Aquascaping Love) because the human eye processes constrained spaces more effectively when visual elements are organised hierarchically rather than competitively. Research into perception of depth in small spaces shows that negative space becomes proportionally more important as overall dimensions decrease. This explains why cramming hardscape into every available corner makes nano tanks feel even smaller than they actually are.
The brain needs empty areas to establish scale references. Temperature stability research confirms that thermal management in small volumes requires different approaches than in larger systems. The faster heat transfer means that environmental placement becomes a design constraint, not just a maintenance consideration.
This affects hardscape choice because some materials retain heat differently than others. Studies on lighting in shallow water systems demonstrate that intensity requirements don’t scale linearly with depth. A 25cm deep tank needs proportionally more light per centimetre than a 50cm tank to achieve the same photosynthetic response in plants. ## Broader Applications Across Tank Types The principles of nano hardscaping apply with modifications across different small tank scenarios. **Shrimp Breeding Setups**: Focus on horizontal hiding spaces rather than vertical drama.
Use flatter stones to create cave-like spaces while maintaining open swimming areas for observation. **Betta Tanks**: Emphasise vertical elements that break lines of sight while avoiding sharp edges. Single pieces of smooth driftwood work better than complex stone arrangements. **Desktop Office Tanks**: Minimalist approaches work best in professional environments. Single specimen stones or simple driftwood arrangements create impact without appearing cluttered or distracting. **Propagation Tanks**: Hardscape serves primarily functional purposes in cutting tanks, providing surfaces for plant attachment while remaining easy to clean around. **Quarantine Setups**: Simple, easily sterilised hardscape allows for necessary functionality while reducing stress through visual interest.
Single smooth stones or basic branching wood serves this purpose effectively. ## Benefits of Mastering Nano Hardscaping **Space Efficiency**: Well-designed nano tanks provide significant visual impact in minimal floor space, perfect for flats, student accommodation, or homes where large tanks aren’t practical. A properly executed 30-litre hardscape creates more visual interest than a poorly planned 200-litre setup. **Skill Development**: Working within nano constraints forces you to understand fundamental design principles more deeply. Every decision matters more when you can’t fix problems by adding more elements or more space. **Budget Management**: Nano tanks allow experimentation with expensive materials that would be prohibitive in larger volumes.
Testing whether you like the look of ADA substrate or premium stones becomes affordable when you only need small quantities. **Maintenance Advantages**: Properly planned nano hardscapes are actually easier to maintain than larger tanks once established. Everything is within easy reach, water changes are quick, and problems are spotted immediately rather than developing unnoticed. **Creative Constraint Benefits**: The limitations force innovative solutions you’d never discover in larger tanks. Some of my most satisfying layouts have come from solving nano-specific problems that don’t exist at larger scales. **Rapid Iteration**: Failed nano layouts can be completely restructured in an afternoon rather than requiring full days of work.
This accelerates learning by allowing more experimental cycles in less time. ## Implementation Strategy **Phase 1: Foundation Setup (Week 1)** Start with tank selection and placement. Choose a cube or shallow rectangular tank between 20-40 litres. Position somewhere with stable temperature and good viewing angles but away from direct sunlight or heat sources.
Select your primary hardscape element first—one substantial piece of stone or wood that will anchor the entire composition. This piece should occupy roughly 15-20% of the substrate footprint when viewed from above. – Tank and stand: £40-80 – Primary hardscape piece: £15-30 – Substrate (small bag): £12-20 **Total Phase 1 Budget: £70-130** **Phase 2: Layout Development (Week 2)** Add supporting hardscape elements that complement rather than compete with your primary piece.
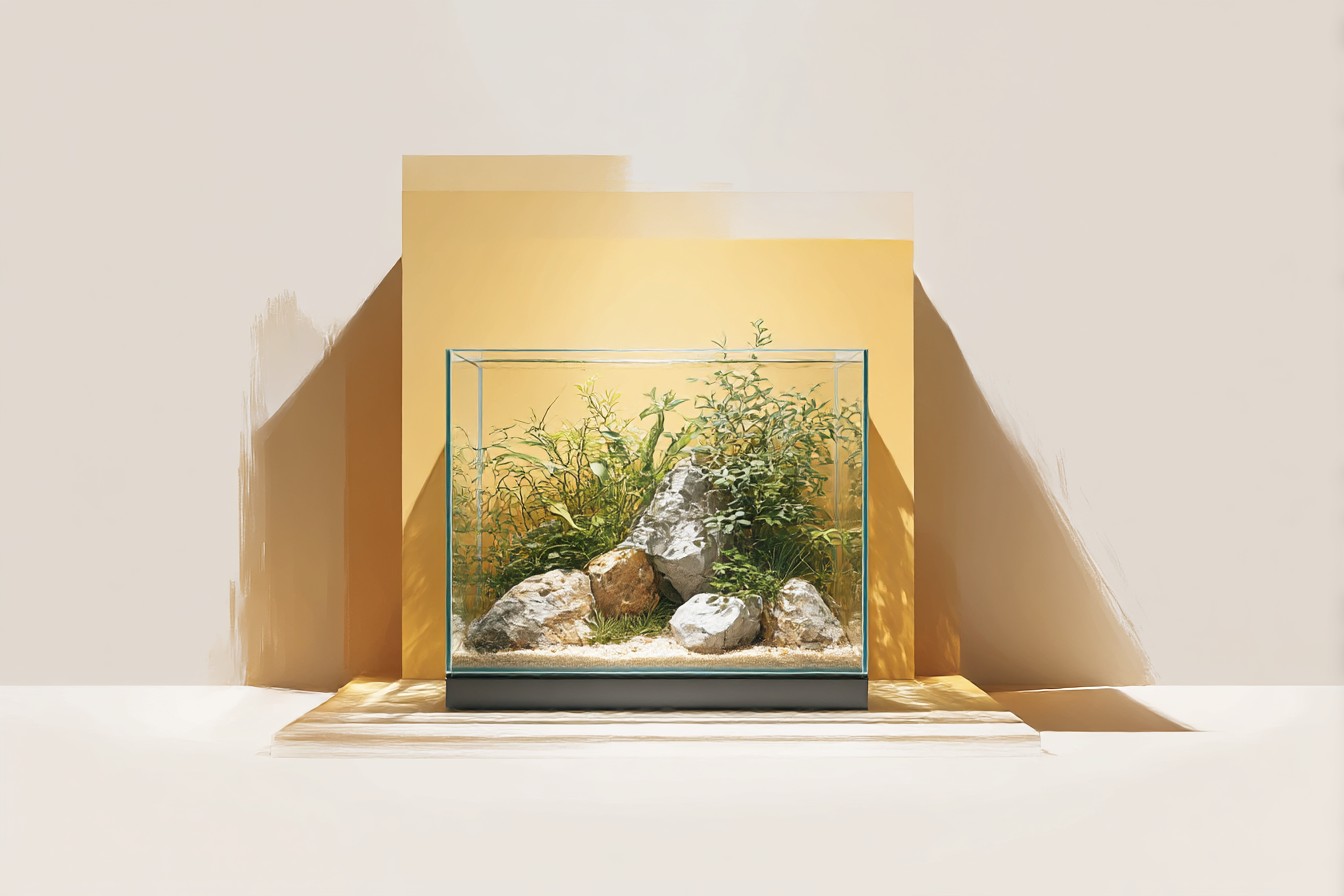
Maximum three total pieces in most nano layouts.
Test arrangements before adding substrate by placing pieces in the empty tank and viewing from multiple angles. Focus on creating one clear focal point with supporting elements that direct the eye toward it rather than away from it. Take photos from the intended viewing position—camera angles reveal composition problems your eye might miss. – Supporting stones/wood: £10-25 – Basic lighting: £25-50 **Total Phase 2 Budget: £35-75** **Phase 3: Refinement and Planting (Weeks 3-4)** Add substrate to established hardscape layout, maintaining the relationships you’ve established between elements.
Plant sparingly initially—nano tanks benefit from gradual plant addition rather than heavy initial planting. Monitor how the hardscape interacts with plants as they establish. Some layouts that look perfect with just hardscape become cluttered once plants fill in.
Plan for plant growth rather than just initial appearance. – Plants (starter selection): £20-40 – Water treatment and startup supplies: £15-25 **Total Phase 3 Budget: £35-65** **Phase 4: Optimisation (Weeks 5-8)** Fine-tune lighting schedules, plant selection, and maintenance routines. Nano tanks require more frequent attention than larger setups but respond more quickly to adjustments. Document what works for your specific setup—lighting duration, feeding schedules if keeping fish, plant trimming frequency.
Small tanks are more sensitive to changes, so consistency becomes more important. **Total Project Budget: £140-270** The hardscape itself represents only about 25-30% of the total budget, but it determines whether the finished tank creates genuine visual impact or just looks like an expensive fishbowl with some rocks in it. Get the hardscape relationships right first, and everything else follows naturally.