# Plant Aquarium Setup Equipment List and What You Actually Need vs What Gets Pushed on You The planted aquarium hobby has a marketing problem. Walk into any aquatics shop or scroll through aquascaping YouTube, and you’ll be confronted with kit lists that read like someone’s trying to fund their retirement through commission. Protein skimmers for freshwater tanks.
Specialised plant substrates that cost more per litre than decent wine. CO2 systems with more gadgets than a NASA launch pad. Wave makers for a 40-litre cube.
Here’s what I’ve learned from setting up tanks in a one-bedroom flat on a shoestring budget: most of that gear is genuinely helpful if you’ve got unlimited money and space. Some of it is essential regardless of budget.

And a fair chunk exists primarily to separate you from your cash while making your setup more complicated than it needs to be.
The difference between what you actually need and what gets pushed on you often comes down to understanding what each piece of equipment actually does for plant health and fish welfare, versus what it does for the profit margins of whoever’s selling it to you. Once you know which problems each bit of kit solves, you can decide which problems you actually have. ## The Science Behind Plant Tank Equipment Requirements **Light Requirements and Plant Metabolism**: Plants need specific light intensities and spectrums to drive photosynthesis effectively. Low light plants thrive with PAR values between 20-40 µmol/m²/s (The Aquarium Expert), which determines your lighting requirements far more than whatever marketing claims are printed on the box.
The photoperiod baseline for many planted tanks is 6-8 hours (Aquascaping Academy), not the 10-12 hours some retailers suggest to sell you higher-end timers and controllers. **Carbon and CO2 Systems**: Plants can extract carbon from atmospheric CO2 dissolved in water or from carbonate compounds naturally present. CO2 targets around 30 ppm work for most planted setups (Charterhouse Aquatics), but achieving this requires understanding your water’s natural CO2 levels and buffering capacity. Many easy plants grow perfectly well with ambient CO2 levels, making expensive injection systems optional rather than essential. **Substrate Functions and Depth Requirements**: Substrate serves multiple functions beyond aesthetics – anchoring plants, providing root nutrition, and housing beneficial bacteria.
Research shows recommended substrate depth for most plants is 2-3 inches (The Aquarium Expert), with planting guidance suggesting burying stems 3-4 inches to prevent floating (Modest Fish). This determines your substrate volume needs without requiring complex layered systems. **Water Chemistry and Cycling Biology**: The nitrogen cycle requires 4-6 weeks to establish (Fish Keepers Guide), during which beneficial bacteria colonize your filter media and substrate. Chlorine used to disinfect drinking water (US EPA) kills these bacteria, making dechlorination essential rather than optional.
Understanding these biological processes helps you distinguish between equipment that supports tank stability and gadgets that just complicate water testing. ## Essential Equipment: What Your Tank Actually Requires **Tank and Stand**: Obviously non-negotiable. Go bigger than you think you want because you will want more fish and more plants six months from now. A 60-litre minimum gives you room to work and enough water volume for stable chemistry.
Stands need to support the weight – water weighs 1kg per litre, so a full 60-litre tank weighs 60kg plus glass and substrate. **Filtration That Actually Works**: A canister or hang-on-back filter rated for your tank volume. The crucial bit isn’t the brand name embossed on the plastic housing. It’s the biological media inside where beneficial bacteria live.
Ceramic rings, bio balls, or sintered glass media provide surface area for bacterial colonies. You need mechanical media to catch debris and biological media to process ammonia. That’s it.
You don’t need UV sterilizers, protein skimmers, or reactors unless you’re dealing with specific problems those tools solve. **Heating and Temperature Control**: A reliable heater sized for your tank volume. 5 watts per litre works for most UK homes. Get one with a proper thermostat, not just an on/off switch.
A separate thermometer lets you verify the heater’s doing its job. Most tropical fish and plants want 22-26°C, and stability matters more than hitting an exact target. **Lighting for Plant Growth**: This is where the equipment lists start going mad with PAR metres and spectrum analyzers. For low-light plants – anubias, java fern, most crypts – a basic LED light rated for your tank length works fine.
If you want carpeting plants or red species, you’ll need higher light intensity. But you don’t need a £200 programmable light controller to grow java moss and amazon swords. Start with basic LED lighting and upgrade only when you’re trying to grow plants that won’t thrive under it. **Water Conditioning**: Dechlorinator is absolutely essential because chlorine will kill your beneficial bacteria and harm fish gills.
Everything else – pH adjusters, mineral supplements, bacterial additives – is optional until you identify a specific problem those products solve. Most UK tap water is fine for common fish and plants after dechlorination. **Basic Test Kit**: You need to monitor the cycling process, which requires testing ammonia and nitrite levels during the first 4-6 weeks. A liquid test kit for ammonia, nitrite, nitrate, and pH covers the basics.
Test strips are less accurate but better than guessing. Once your tank’s cycled and stable, you’ll test less frequently. ## What Gets Pushed That You Probably Don’t Need (Yet) **CO2 Injection Systems**: The aquascaping world acts like CO2 injection is mandatory for planted tanks. It’s not.
Many plants grow perfectly well with ambient CO2 levels. If you’re starting with easy plants like java fern, anubias, vallisneria, or cryptocorynes, skip the CO2 system initially. Add it later if you want to grow carpeting plants or achieve faster growth rates.
When you do add CO2, remember it should be turned on 1-2 hours before lights when using a solenoid timer (Aquarium Co-Op). **Specialised Planted Tank Substrates**: Those £30-per-bag aqua soils with volcanic minerals and buffering properties work great. They’re also completely unnecessary for most setups. Regular aquarium gravel with root tabs, or even sand with fertilizer supplements, grows plants successfully.
You Might Also Like
The layered substrate systems – bottom nutrient layer, middle buffering layer, top aesthetic layer (AquariumCalculator.net) – are fine if you want to spend the money, but simple approaches work too. **Wave Makers and Circulation Pumps**: Unless you’re running a very large tank or keeping fish that need strong current, your filter output provides adequate water movement. Adding circulation pumps to a small planted tank often creates dead spots and stressed fish rather than improved flow patterns. **Automated Dosing Systems**: Liquid fertilizers work fine when added manually. Dosing pumps and automated systems are useful for high-tech setups with demanding plants, but they’re overkill for most community tanks with basic plant loads. **Protein Skimmers for Freshwater**: These occasionally get recommended for planted tanks.
Don’t. They’re marine equipment that doesn’t work effectively in freshwater and can actually remove beneficial substances plants need. **Multiple Substrates and Additives**: The more complex your substrate layering system becomes, the more likely something will go wrong during planting or maintenance. Simple substrates are easier to vacuum, easier to plant in, and cause fewer chemistry swings. ## Common Equipment Mistakes That Cost Money and Fish
Mistake #1: Over-specifying CO2 systems for tank size. A Fluval pressurized CO2 kit rated for up to 190 litres (Fluval Manuals) costs £150-200 but many people buy it for 40-litre nano tanks.
You’re paying for capacity you can’t use. Size your CO2 system to your actual tank volume and plant load, not the biggest system the shop stocks.
Mistake #2: Buying test kits for parameters you don’t need to monitor. GH/KH test kits, phosphate tests, and iron tests are useful for specific situations. But if you’re running a basic community tank with easy plants, you don’t need to test for trace elements.
Focus on ammonia, nitrite, nitrate, and pH during cycling, then test less frequently once stable.
Mistake #3: Under-sizing filtration for fish load. Plant tank guides often recommend minimal filtration because “the plants do the filtering.” That works if you’re lightly stocked with small fish. If you want a proper community tank with decent fish numbers, size your filter for your fish load, not your plant load. Plants help with water quality but they don’t replace biological filtration entirely.
Mistake #4: Rushing the equipment purchase before understanding the requirements. Buying everything at once before you know what plants you want to grow or what fish you want to keep leads to mismatched equipment.
Start with basics, get the tank running, then add equipment based on what you actually need rather than what the starter kit includes.
Mistake #5: Ignoring water parameter compatibility between equipment choices. Some substrates lower pH significantly, which affects fish choice and CO2 effectiveness. Some fertilizers don’t work well with certain water chemistries. Research how your equipment choices interact rather than assembling a kit from different brands without considering compatibility.
## Research Support Multiple studies confirm that successful planted aquariums depend more on understanding biological processes than on equipment complexity.
Research into plant light requirements, nitrogen cycling timelines, and CO2 effectiveness shows consistent patterns – stable water chemistry and appropriate light levels matter more than brand names or gadget count. The equipment requirements for healthy plant growth are well-established and relatively simple, while the marketing around planted tank equipment has created artificial complexity that benefits retailers more than fish keepers. ## Equipment Adaptation for Different Setups **Nano Tanks (10-40 litres):** Scale everything down. Smaller heaters, hang-on-back filters instead of canisters, clip-on LED lights.
Don’t over-equip small tanks with gear designed for larger systems. **Community Tanks (60-150 litres):** This is where standard equipment sizing works as advertised.
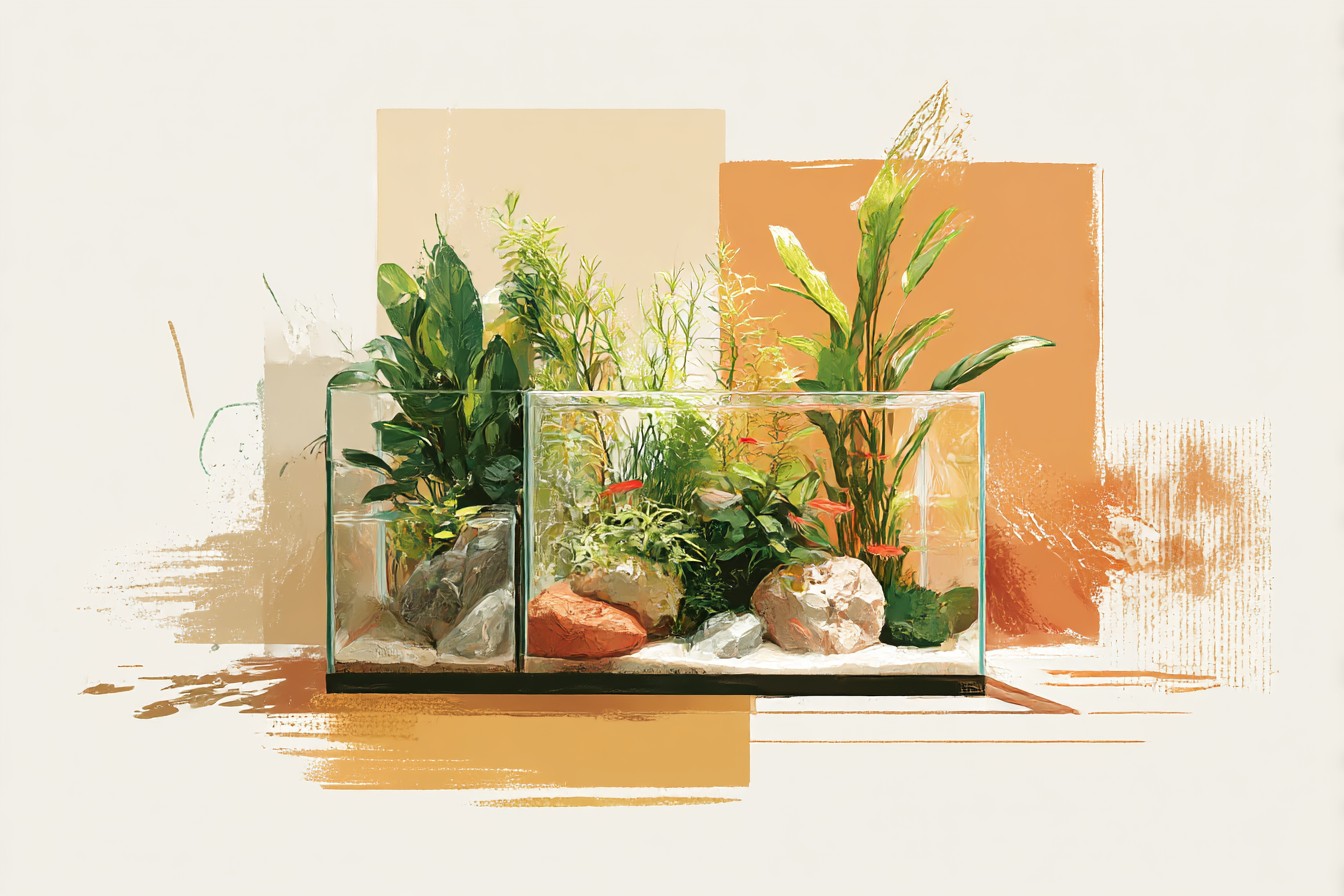
Canister filters, proper LED lighting arrays, and optional CO2 systems if you want faster growth. **Large Display Tanks (200+ litres):** You’ll need more powerful filtration, multiple heaters for redundancy, and stronger lighting. But the principles remain the same – biological filtration, stable temperature, appropriate light levels. **Breeding Setups:** Often need less equipment, not more.
Sponge filters, minimal lighting, simple substrates. Don’t over-complicate breeding tanks. **Shrimp-Only Systems:** Require gentle filtration and stable water parameters. Skip strong pumps and focus on biological stability over mechanical filtration power. ## Benefits of Getting Equipment Choices Right **Financial Sense**: Starting with essential equipment and adding as needed typically costs £200-400 for a complete 60-litre setup versus £600-800 for everything-included starter packages.
You can always upgrade specific components later based on actual experience rather than theoretical needs. **Maintenance Simplicity**: Fewer gadgets mean fewer things to clean, calibrate, or replace. Simple filtration systems are easier to maintain and less likely to fail at inconvenient times. **Biological Stability**: Equipment that matches your tank’s biological load creates more stable water chemistry than over-powered or under-powered systems trying to compensate for mismatched specifications. **Learning Curve Management**: Understanding how basic equipment works before adding complexity helps you diagnose problems and make informed upgrade decisions later. **Space Efficiency**: Essential-only equipment fits better in typical home spaces and leaves room for tank expansion rather than equipment expansion. ## Step-by-Step Equipment Implementation **Phase 1: Tank Establishment (Weeks 1-2)** – Tank, stand, filter, heater, basic LED light – Substrate (simple gravel or sand initially) – Dechlorinator and basic test kit – Start fishless cycling process **Budget Breakdown:** * 60L tank and stand: £80-120 * Filter and heater: £40-60 * LED light: £25-45 * Substrate and water treatment: £20-30 * Test kit: £15-25 **Total Phase 1: £180-280** **Phase 2: Plant Addition (Weeks 3-4)** – Easy plants suited to your lighting – Root tabs or basic liquid fertilizer – Planting tools (tweezers, scissors) – Monitor cycling completion with test kit **Budget Breakdown:** * Plant selection: £30-50 * Fertilizer supplies: £15-25 * Basic tools: £10-20 **Total Phase 2: £55-95** **Phase 3: Fish and Optimization (Weeks 5-8)** – Fish selection based on established water parameters – Fine-tune lighting duration and feeding routine – Consider CO2 addition only if plant growth is unsatisfactory – Upgrade equipment only for specific identified needs **Budget Breakdown:** * Fish stock: £40-80 * Optional CO2 system: £100-180 * Equipment upgrades: £30-100 **Total Phase 3: £70-360** **Total Project Budget: £305-735** The lower end gets you a functioning planted tank with community fish. The higher end includes CO2 injection and premium equipment choices.
Both approaches work – the difference is complexity and growth rate, not success or failure. Start simple, then add complexity only when you understand what problem each addition solves and why the simpler approach isn’t meeting your specific needs. If you’re just getting started with planted tanks, our complete beginner’s guide covers the biological fundamentals that determine which equipment you’ll actually benefit from versus what just looks impressive in the shop.